
Canva makes designing beautiful creative assets easy for everyone. From social media images, videos, and GIFs to posters, websites, booklets, multimedia presentations, and heaps more, Canva is an invaluable tool for helping you level up your design skills.
Ready to get started? Let's go!
Exploring the Canva UI
The Canva editor is intuitive to help you explore and experiment with design tools at your own pace. The great thing about the Canva user interface is that you can jump in quickly to get a feeling for the available different templates, of which there is a lot!
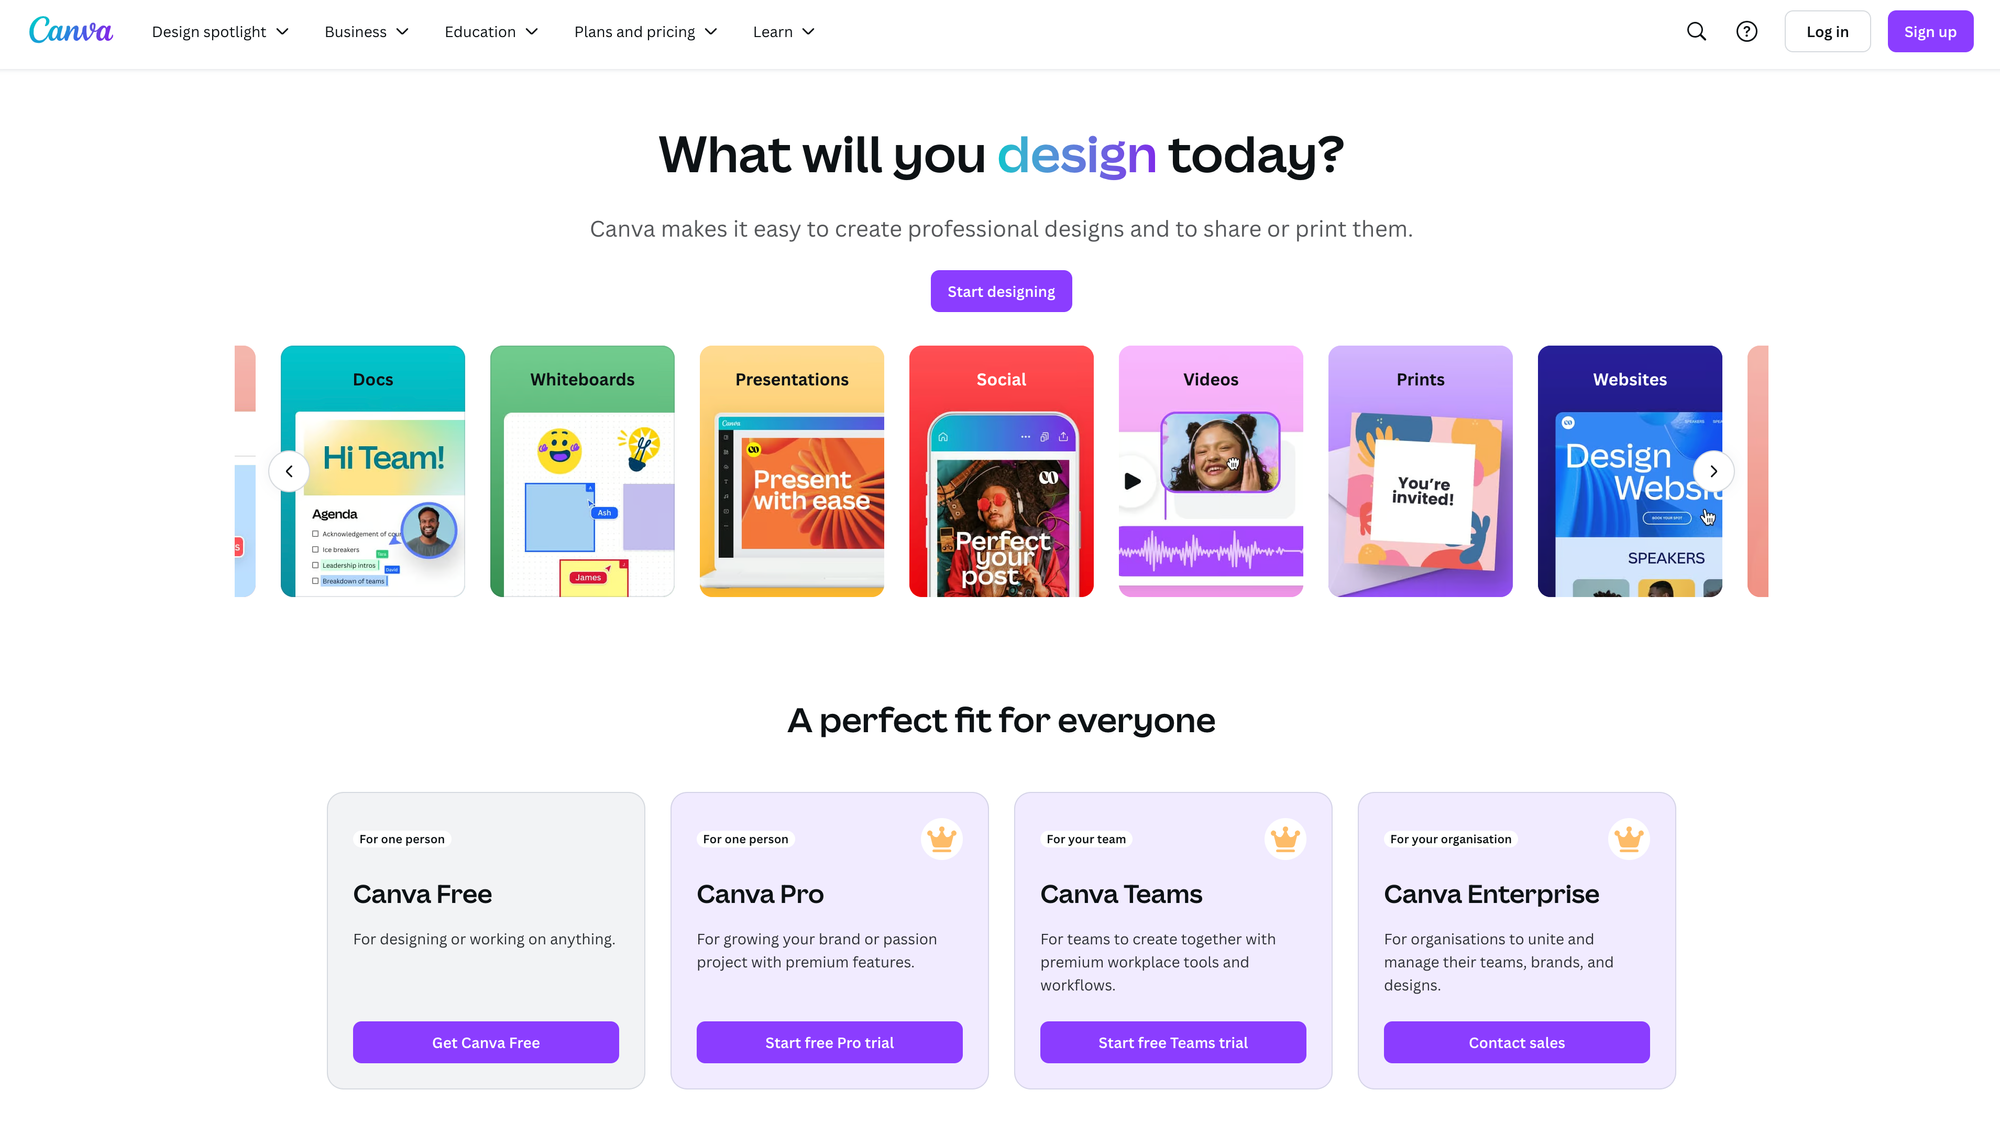
You'll need to let Canva know what type of project you're working on, as shown in the image below. Fortunately, this is super simple, and it's the first page you'll see after signing up for Canva.
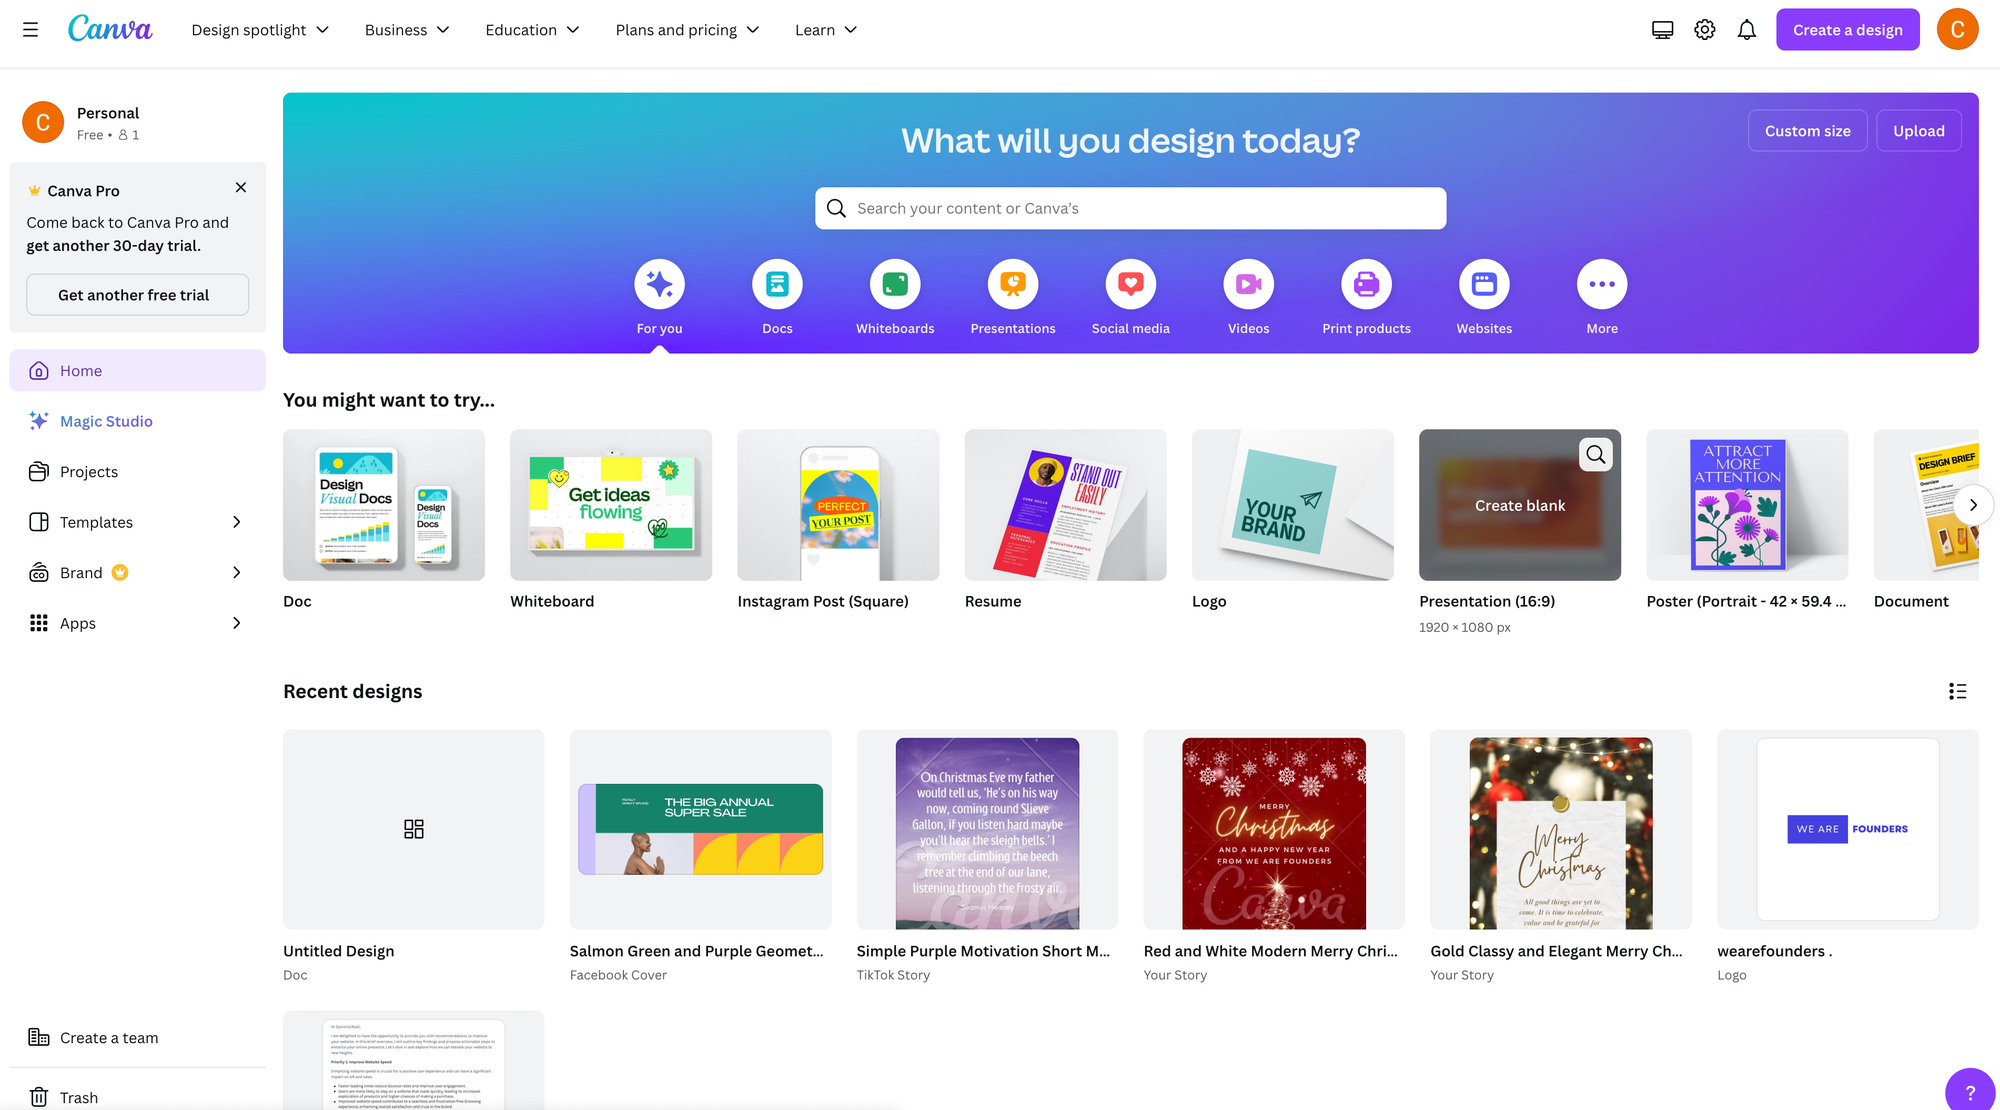
Once you pick a template style from the above, you'll be able to jump right into the design itself. Below, we have a Facebook banner already styled for us because we're using a template. It's worth remembering that some templates are free, and some are for premium users only.
Ready to start? Great!
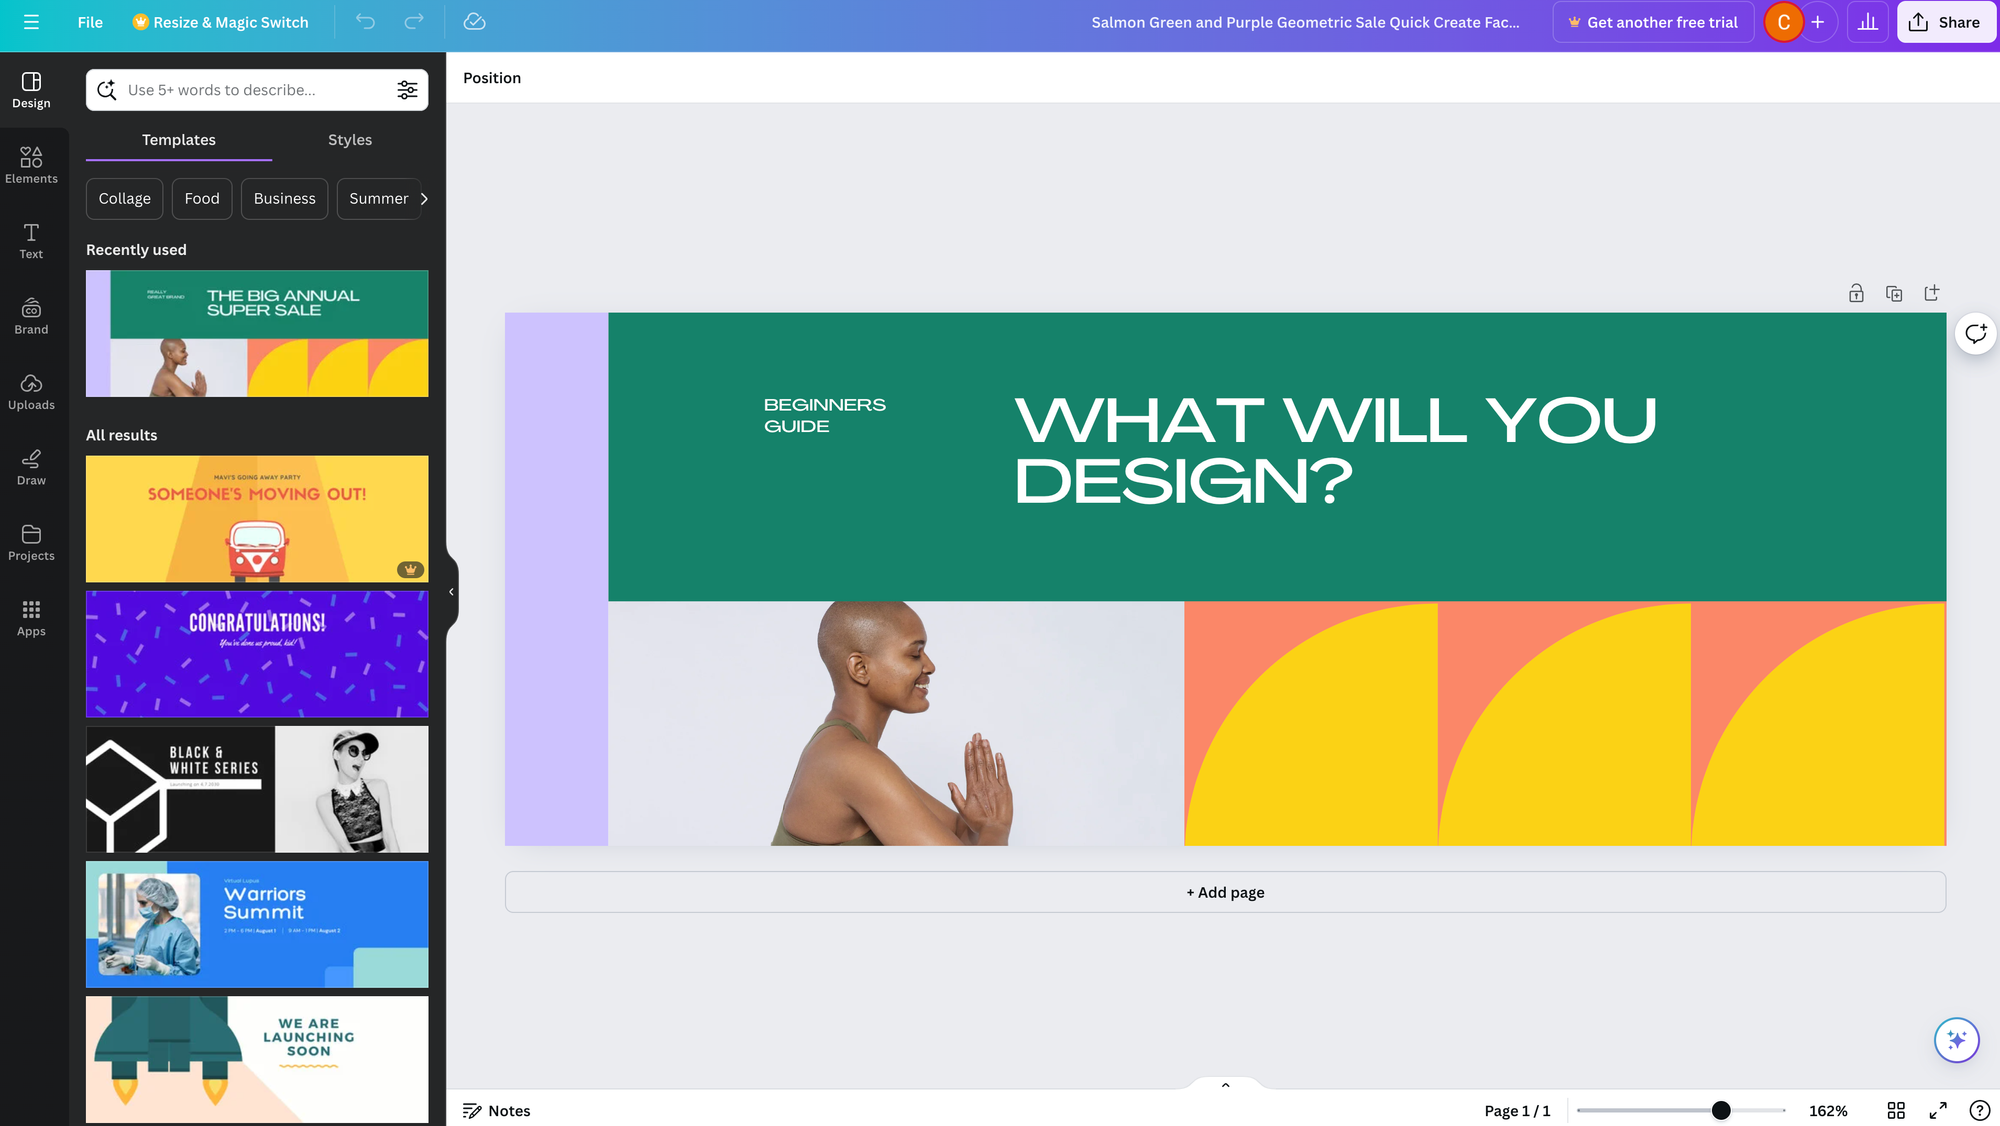
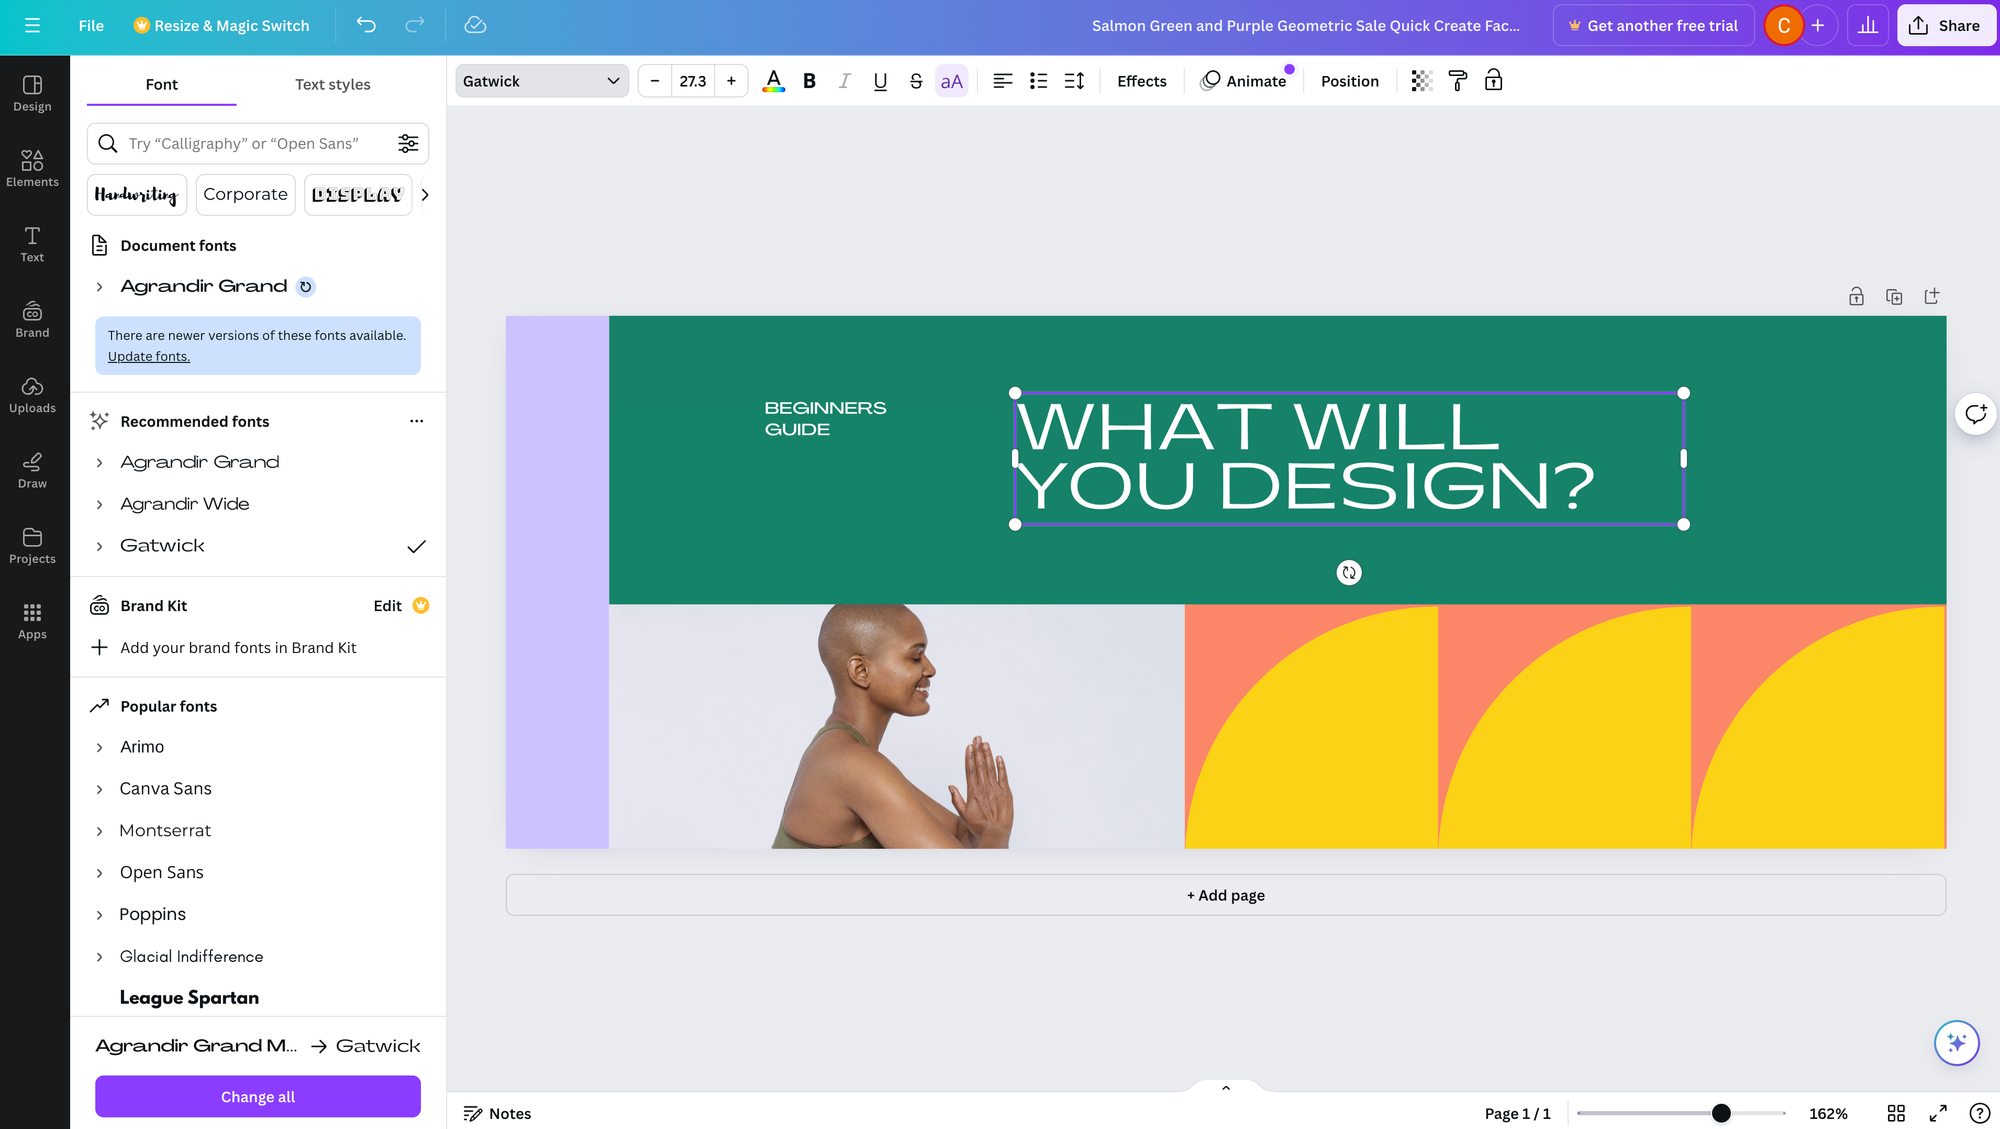
It's as simple as clicking on an element in the design portion of the browser. In the below example, we want to change the font from Agrandir Grand to Gatwick. Simply select the text you want to choose, and new options will appear on the left-hand side.

Our text, "What Will You Design", has now been selected and we can now change the font. We can do this in two ways. Either by using the fonts on the left-hand side, or using the dropdown in the toolbar, which is along size font-size, colour, bold, italic and so on.
What happens when we change it to Gatwick? Take a look for yourself!
Rather unsurprisingly, it's changed the font to what we wanted. Congratulations, you're a designer now! This is just a quick look into the Canva interface, but we'll go into more detail on styling fonts and getting our hands dirty in design work later in this tutorial!
Before we do, let's talk a little more about templates.
Leveraging Templates
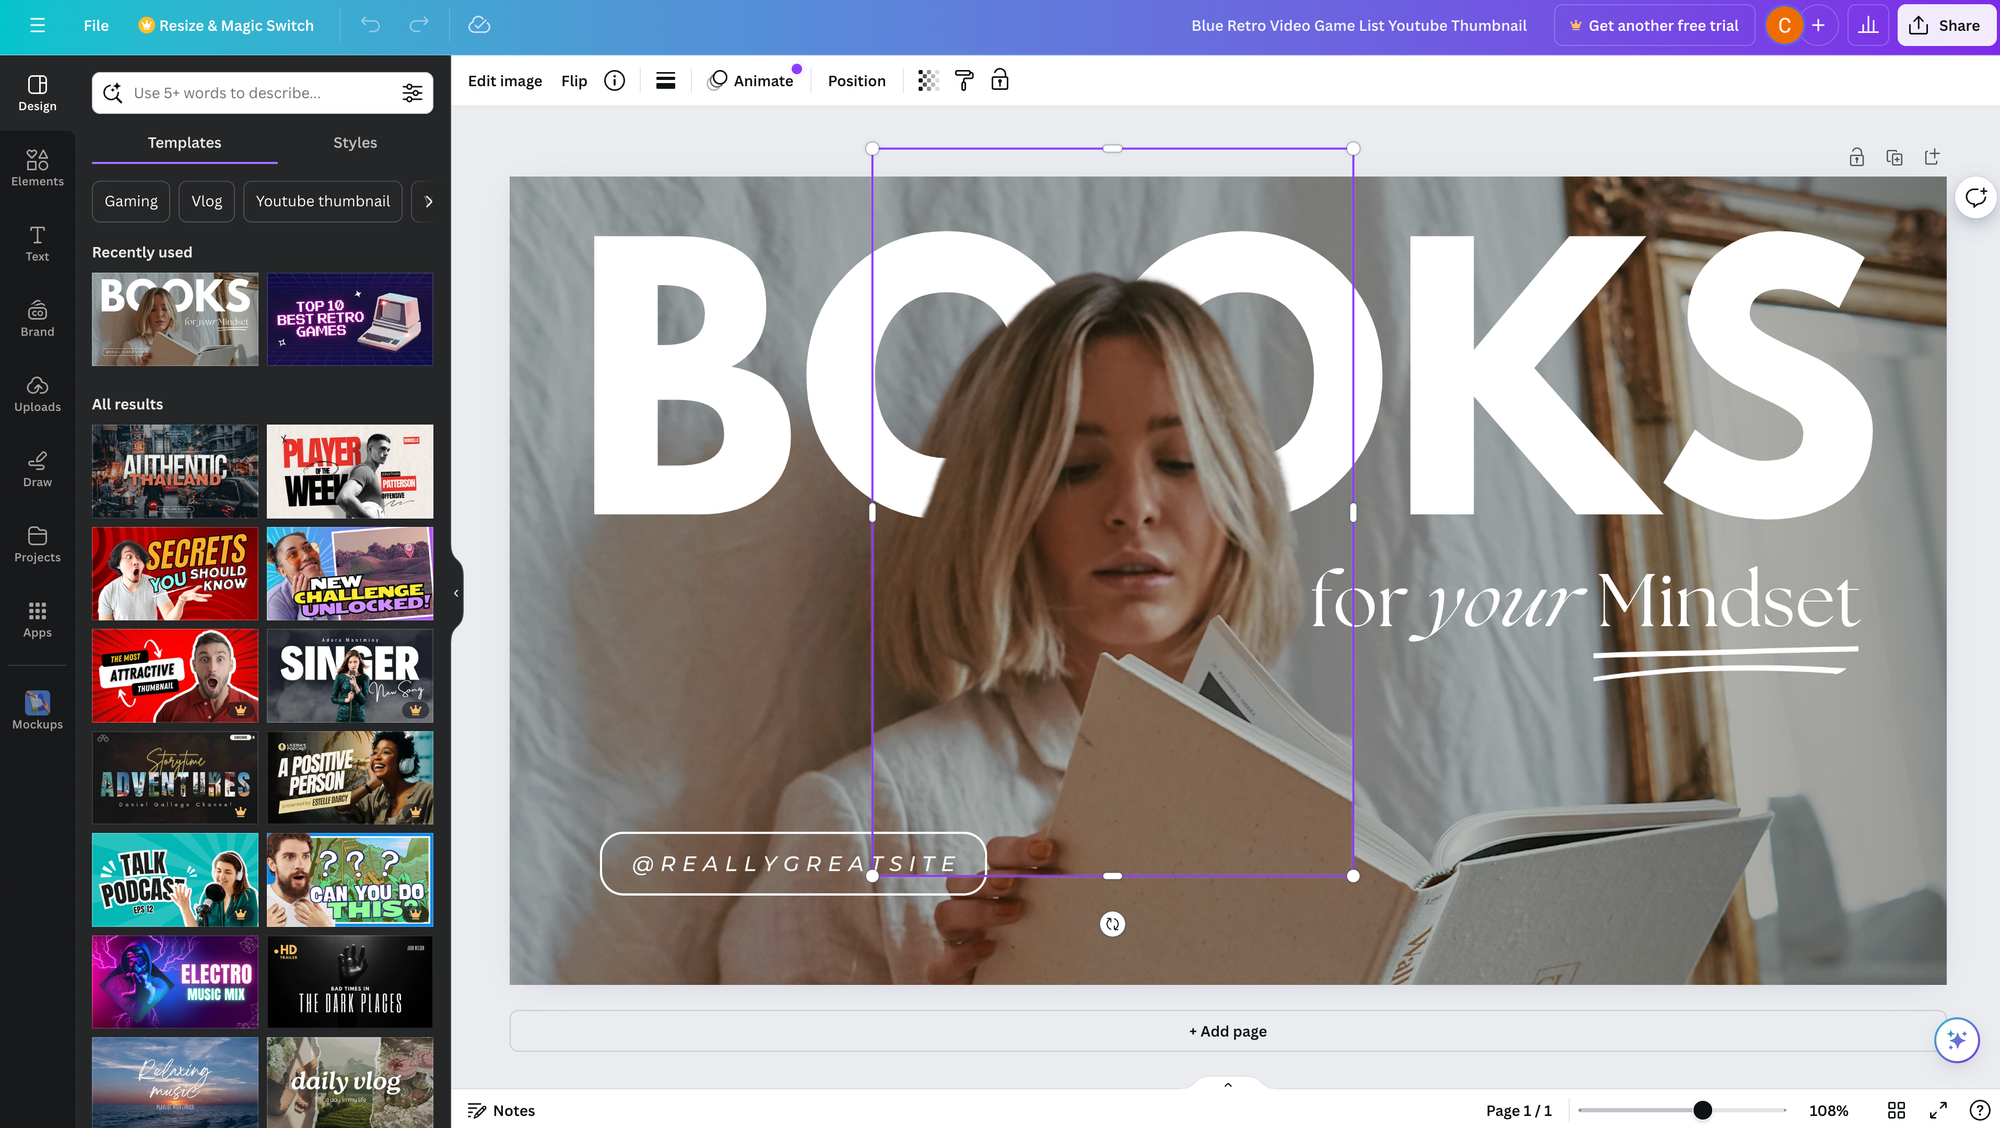
One of the best resources for new designers is the endless library of templates. These templates are made by expert designers, demonstrating good design principles in practice and what’s possible with Canva.
Once you find a template you like, open it in the editor and you’ll see that all the design elements can be customised and edited to best suit your design needs.
Use keywords in the search bar to quickly find new elements and templates, or browse your own designs and uploads. Improve your workflow by customising the side panel in the editor by clicking MORE at the base of the side panel, and then choosing which content you’d like to add for quick access.
Searching is a really powerful way to find templates you want. Bear in mind, that some templates are for premium users only.
Using and Editing Elements
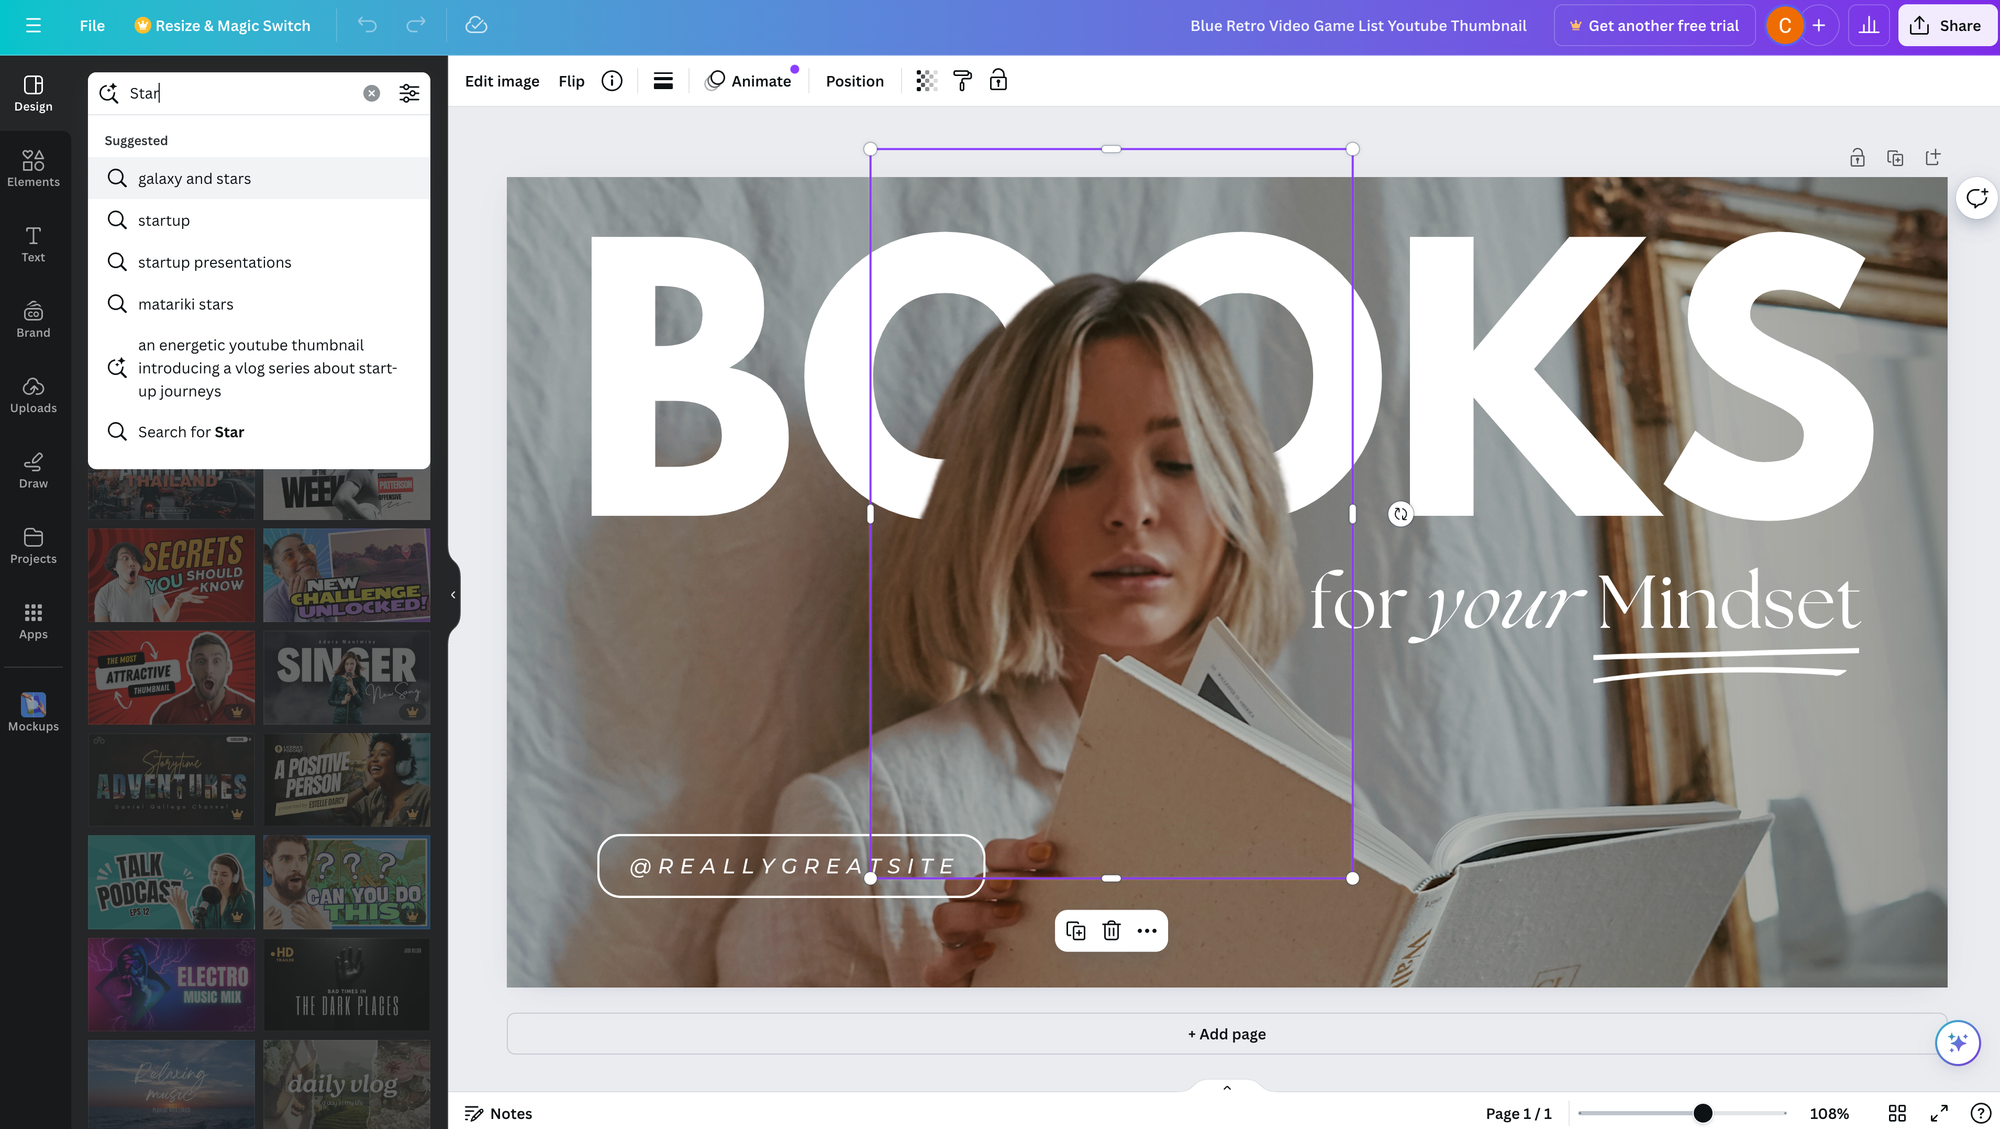
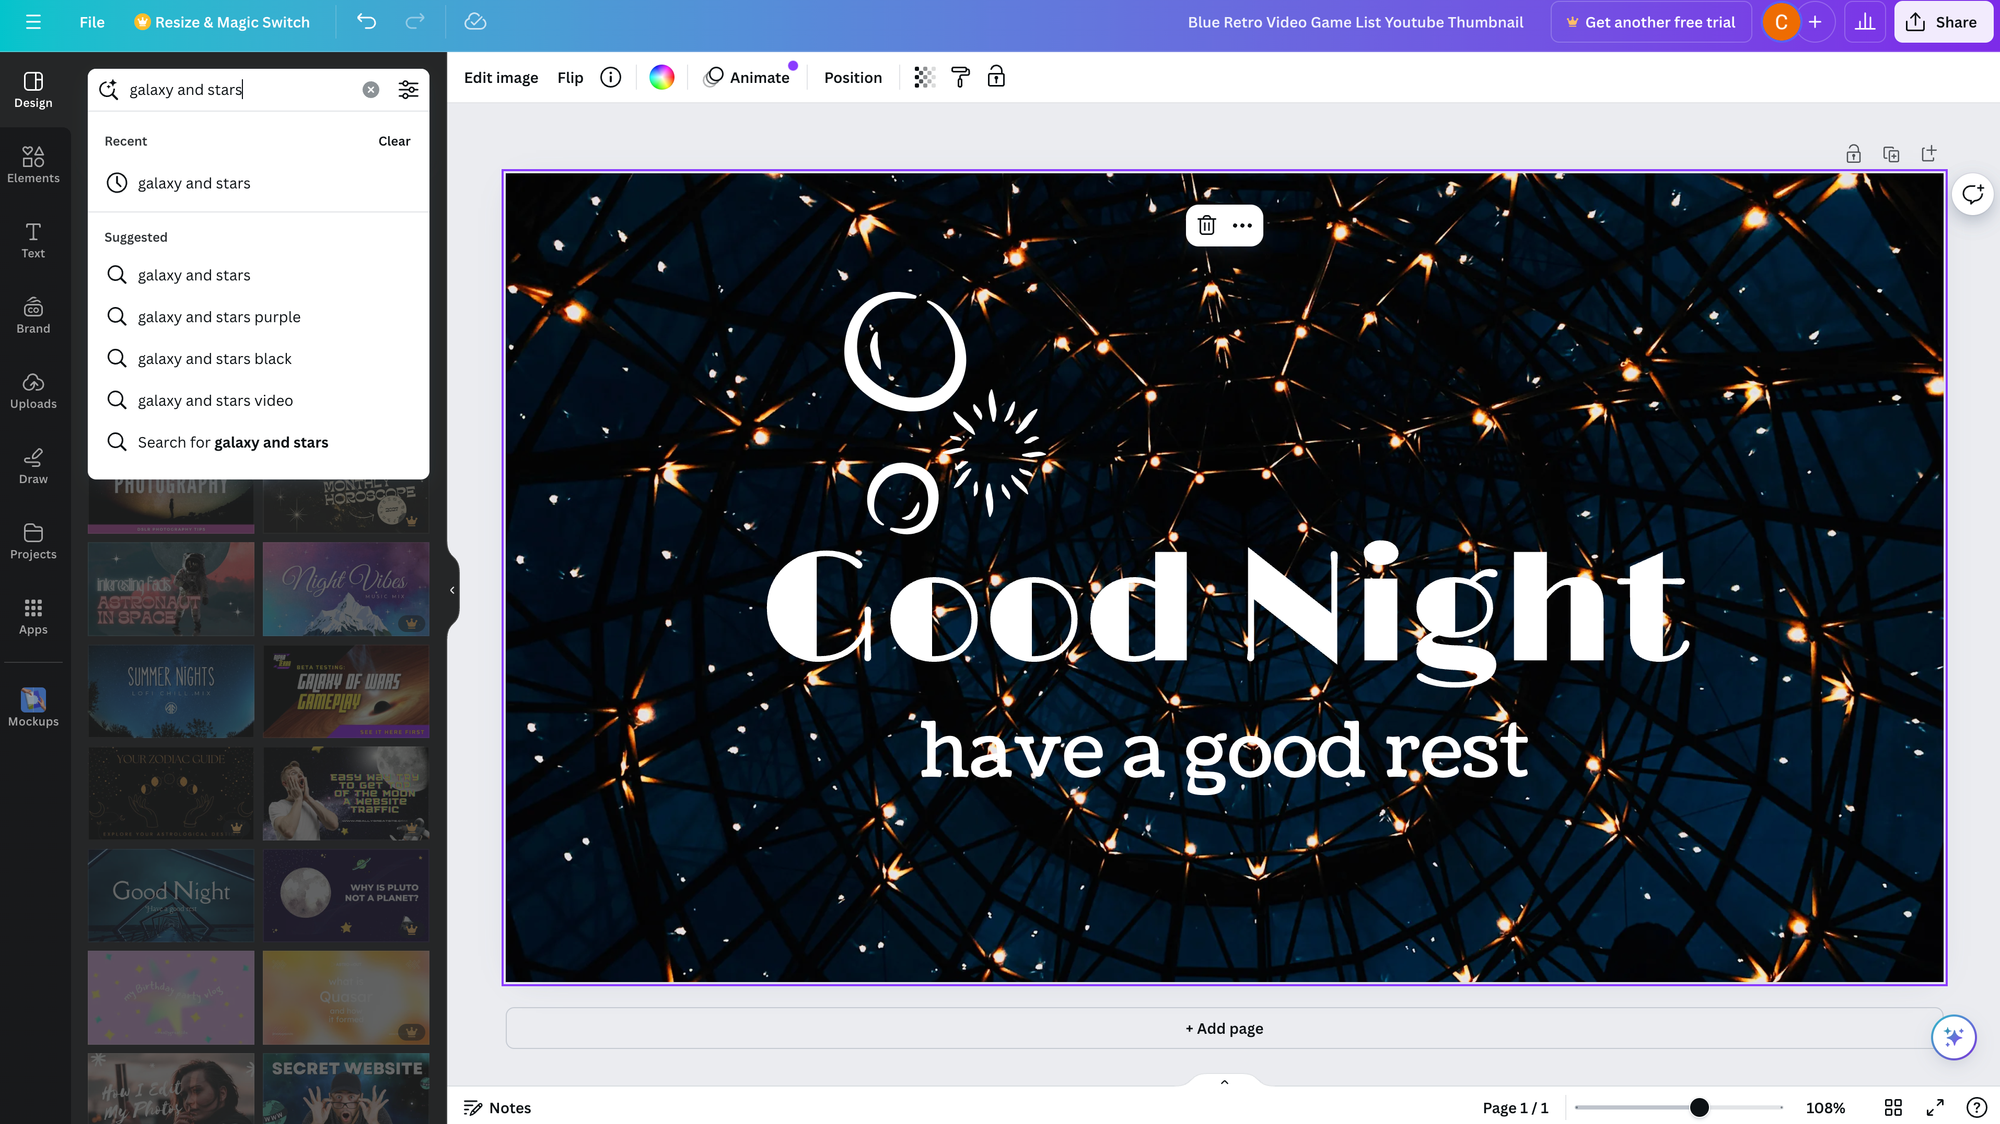
From high-quality photos and free GIFs to stock videos and background music, Canva has a huge library of design elements – most are free, some are for Pro accounts, and some have a small fee.
In the side tab, click Elements and use the search bar to find elements, scroll sideways through different categories, or scroll down to see some example elements for different categories.
Double-click, or click and drag, to add the element to your design and customise as you need.
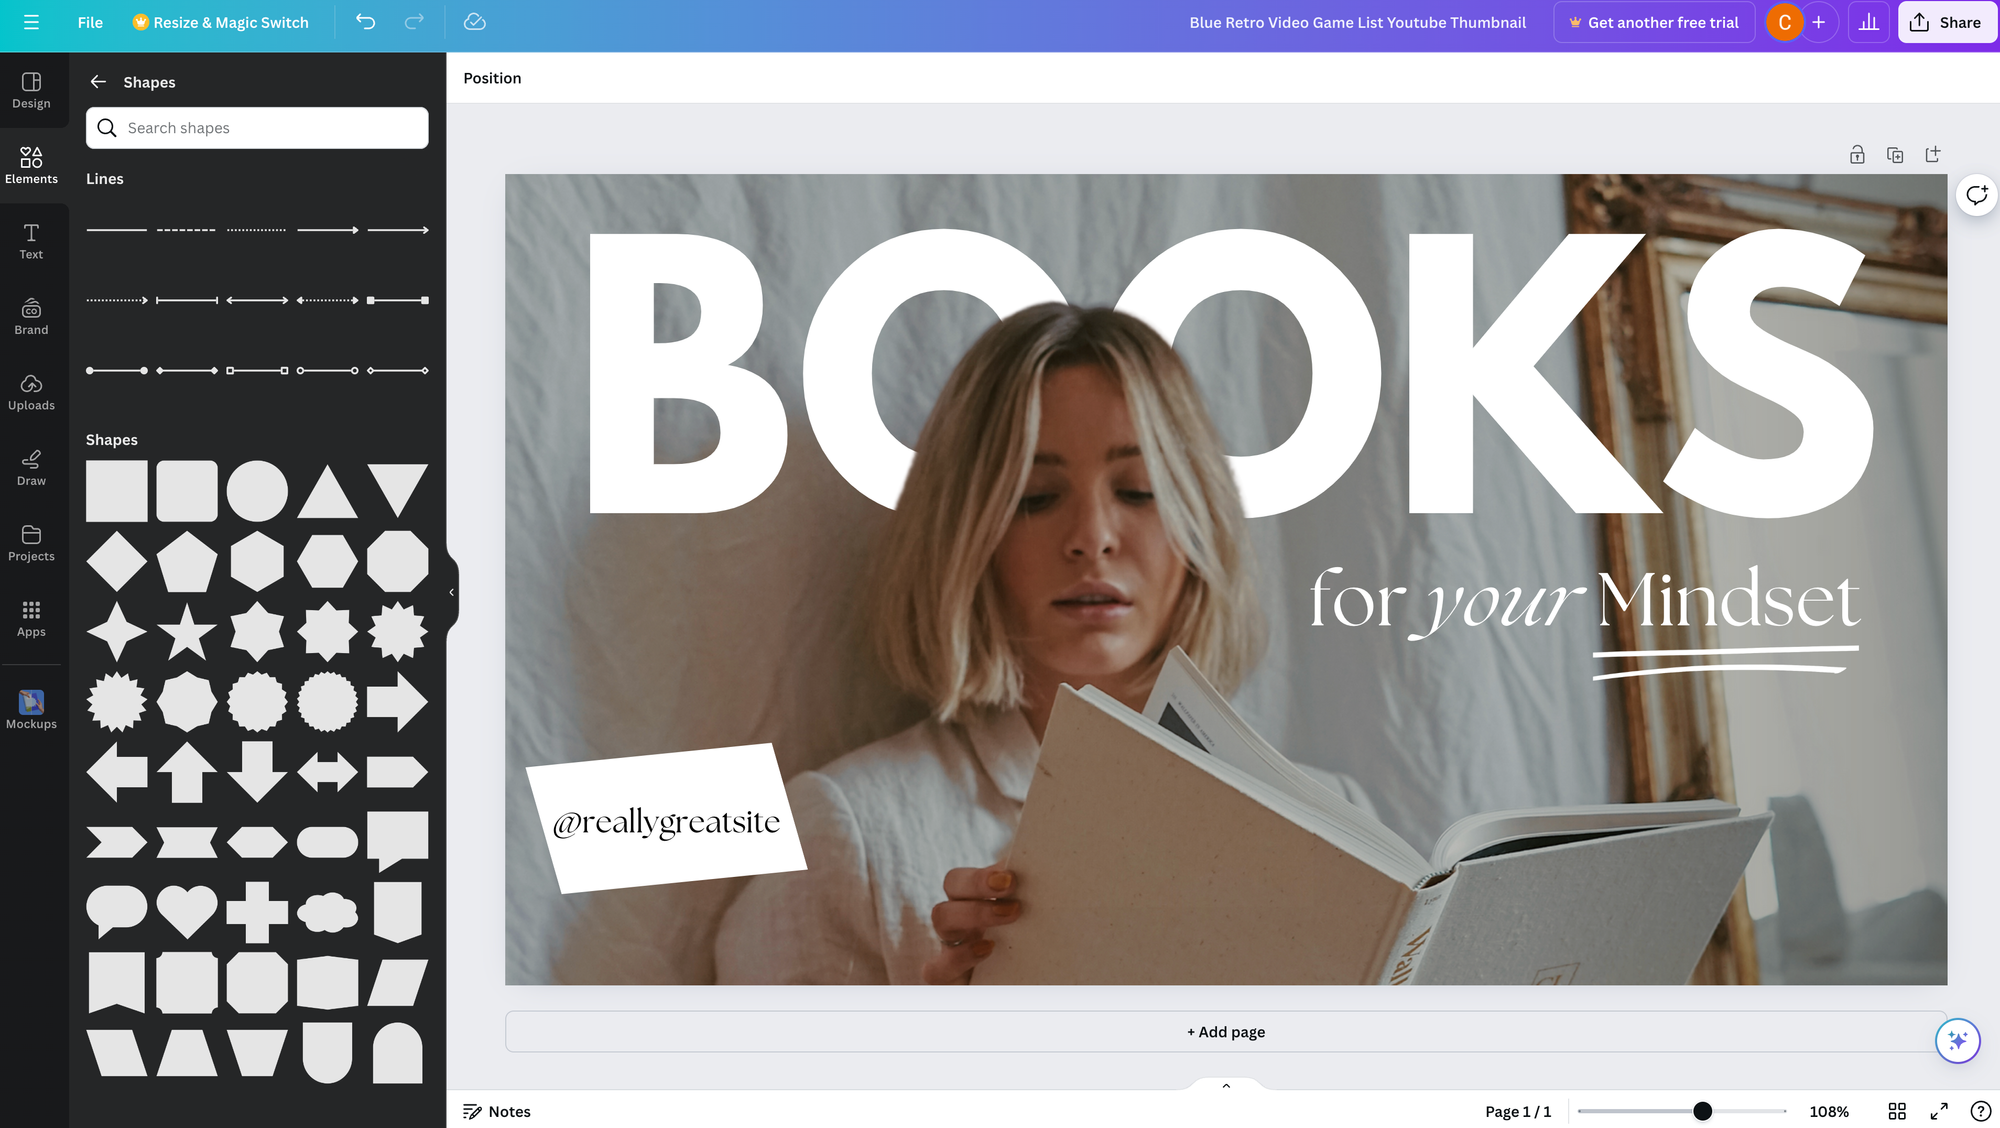
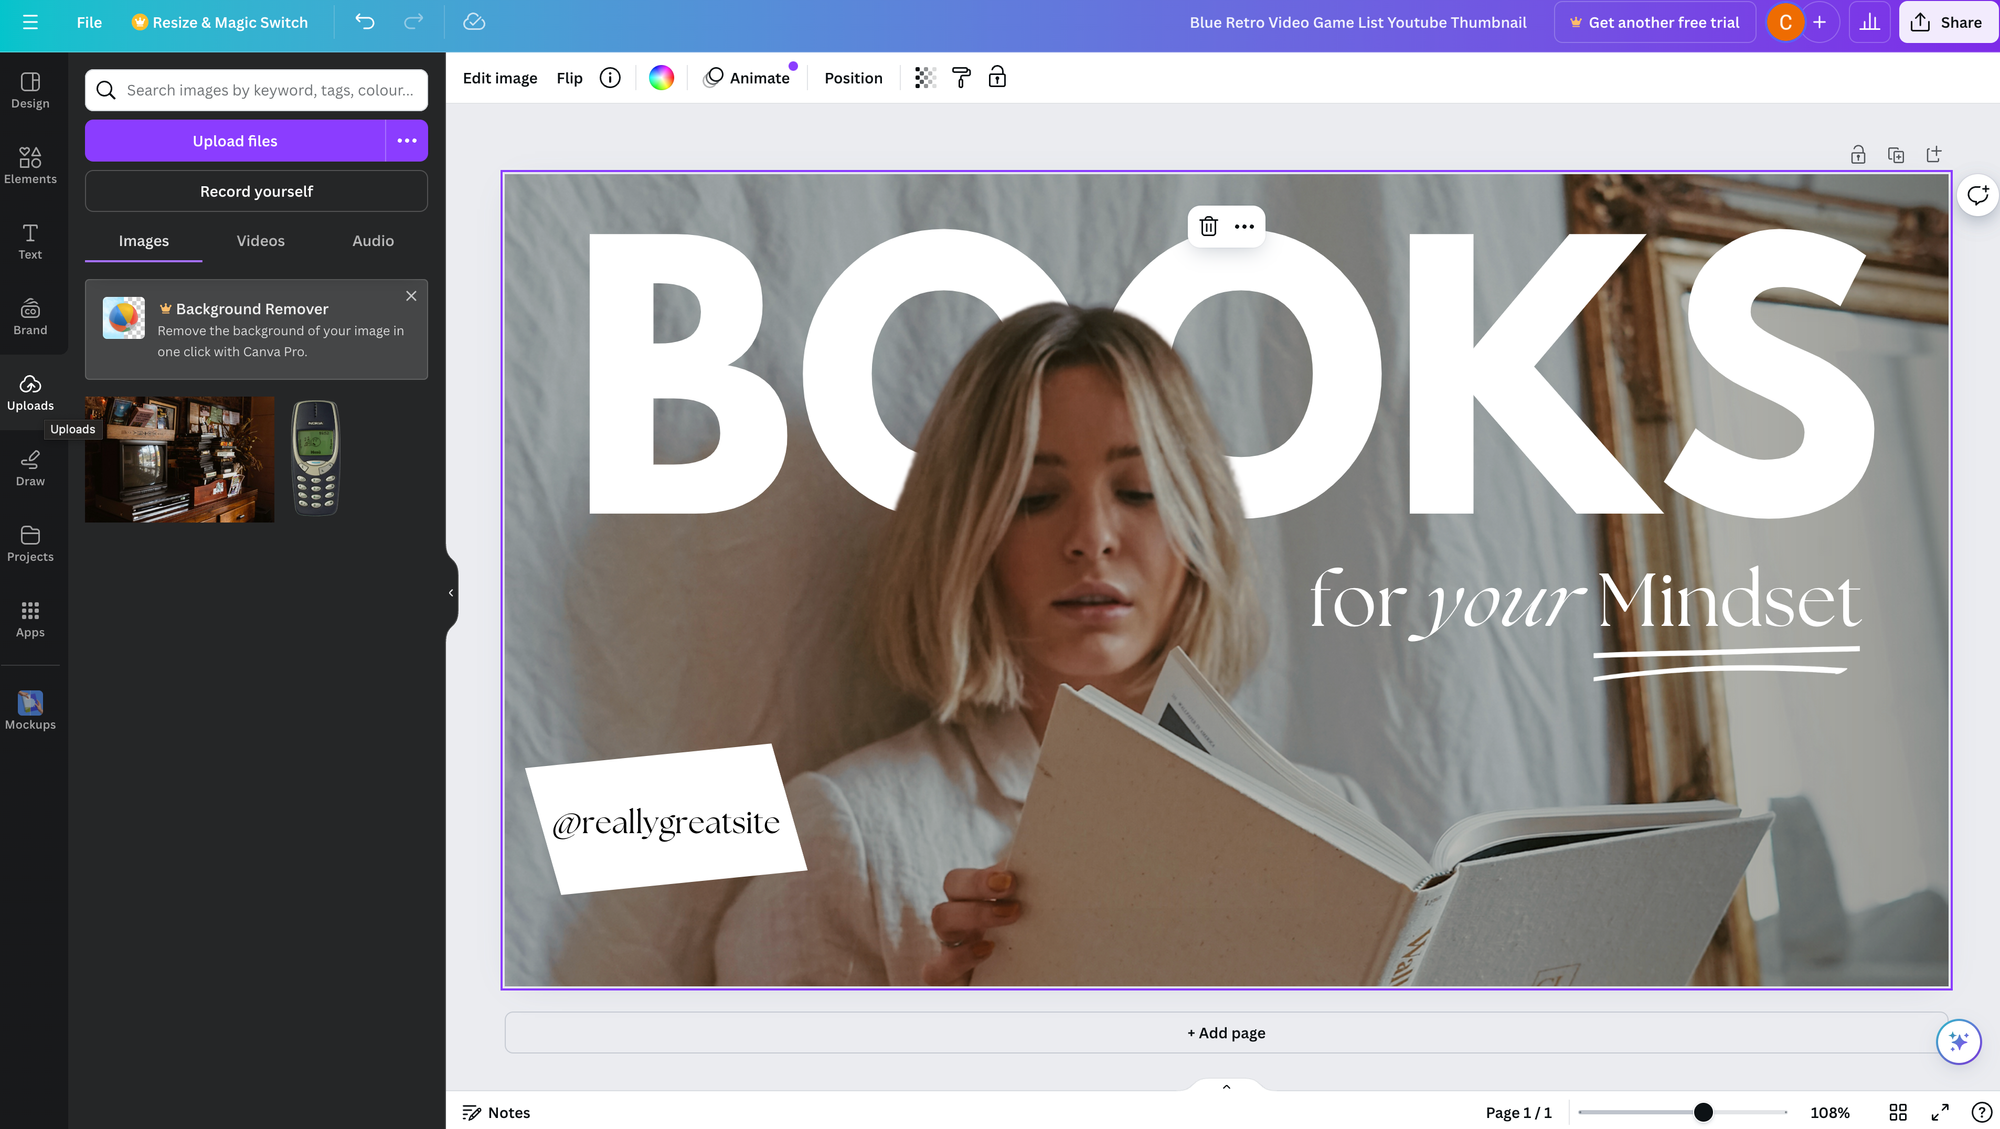
Uploading and Using Media
Upload photos, illustrations, and videos via Uploads in the side panel. Click and drag media directly into a design and customise it from there. Your uploaded media will appear in the Uploads tab.
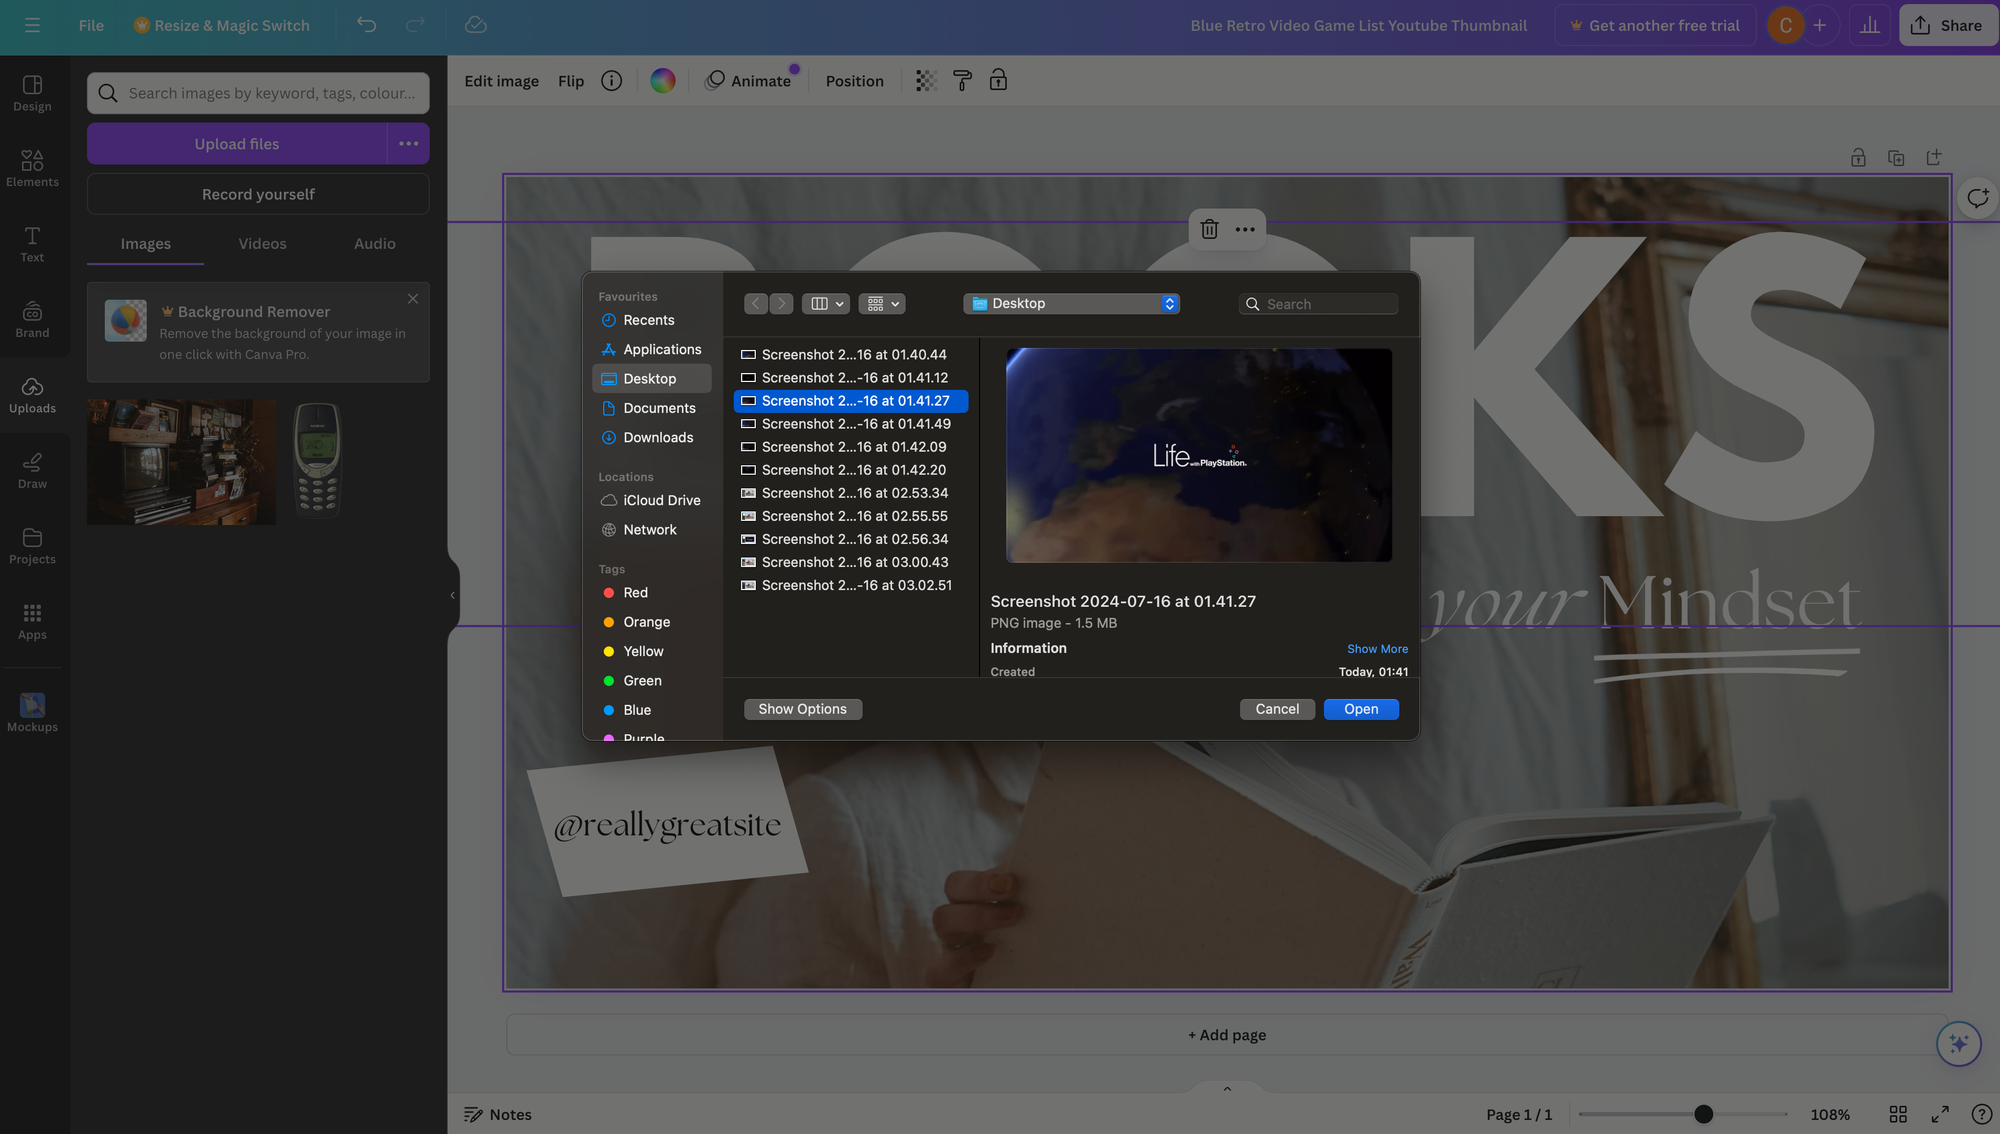
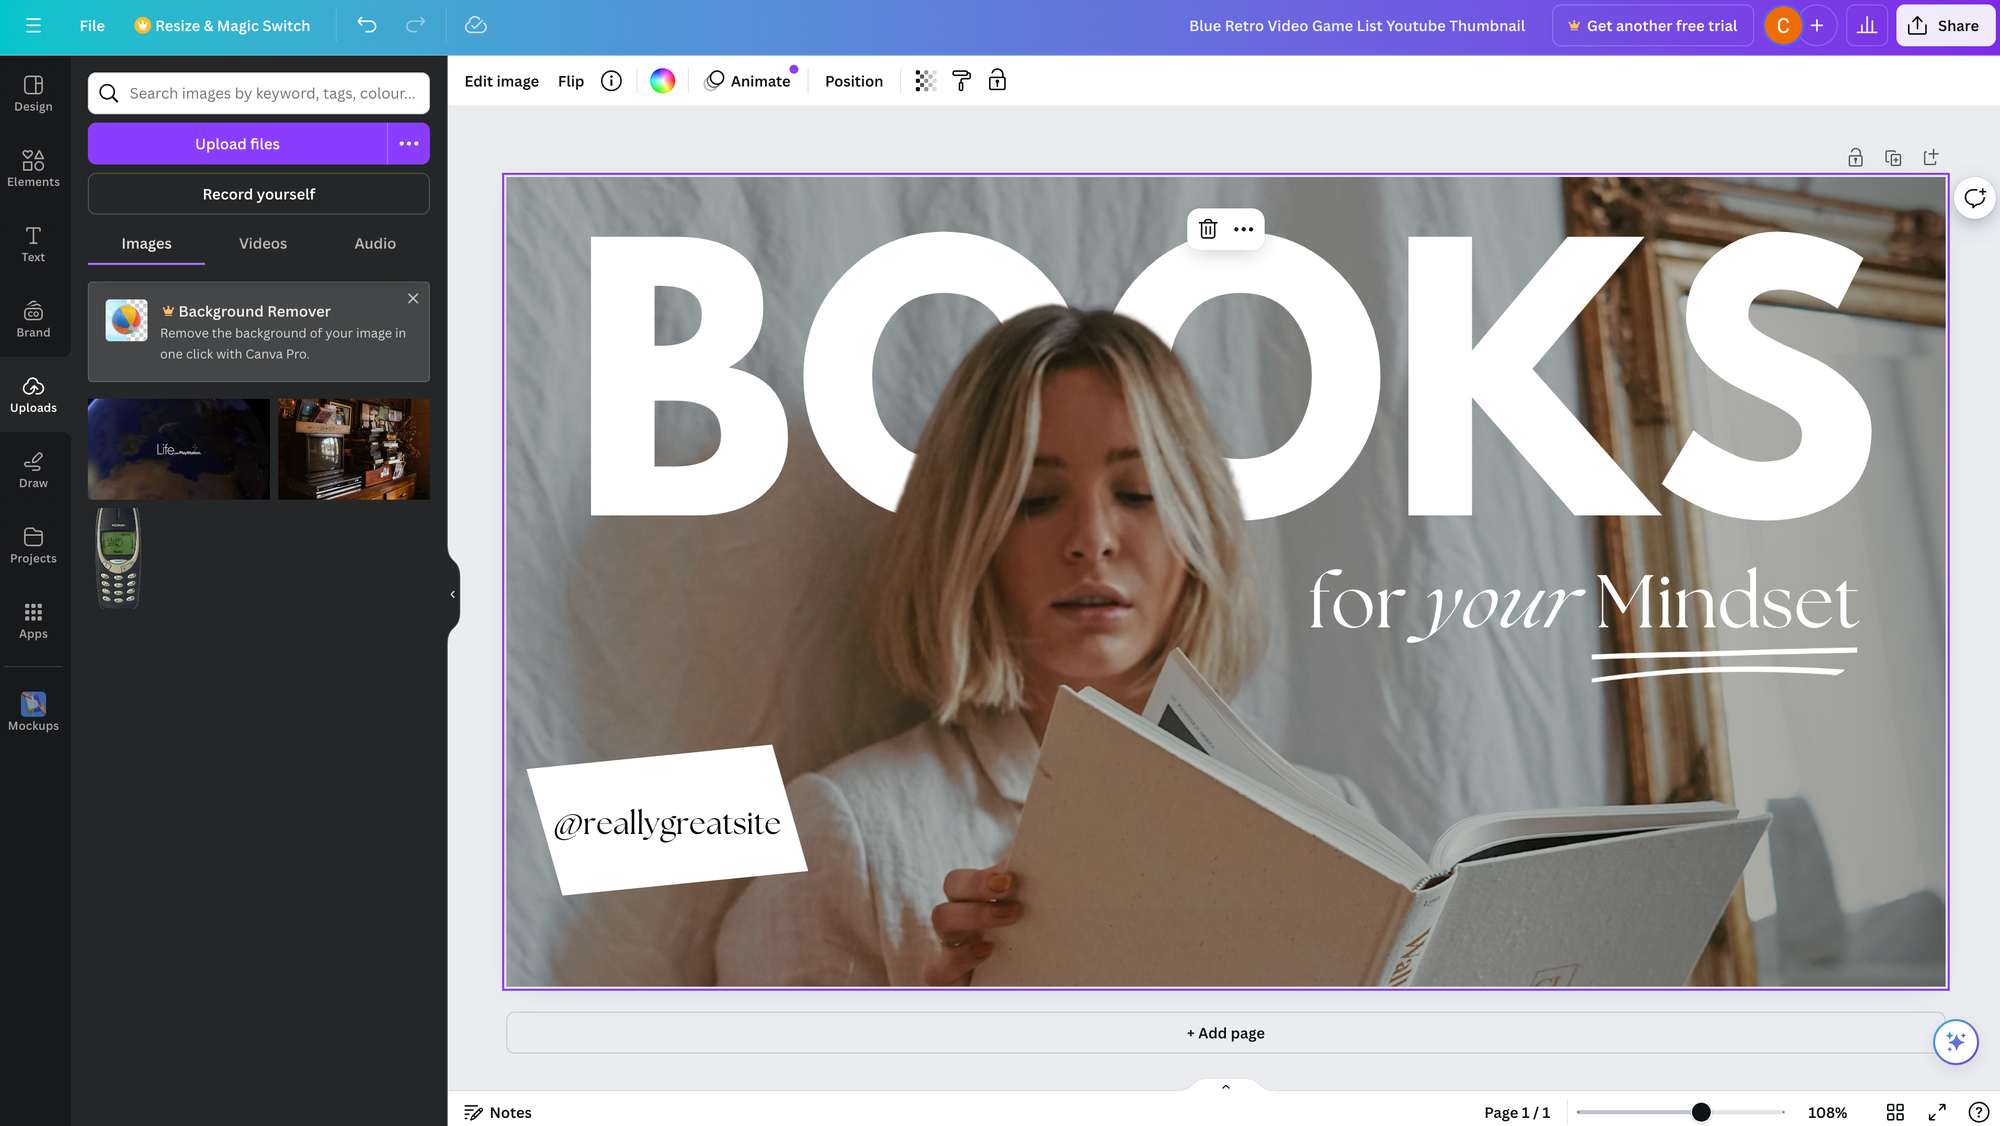
Left to right: Uploading is just a case of choosing media from your hard drive. Easy!
Sharing and Collaborating on Designs
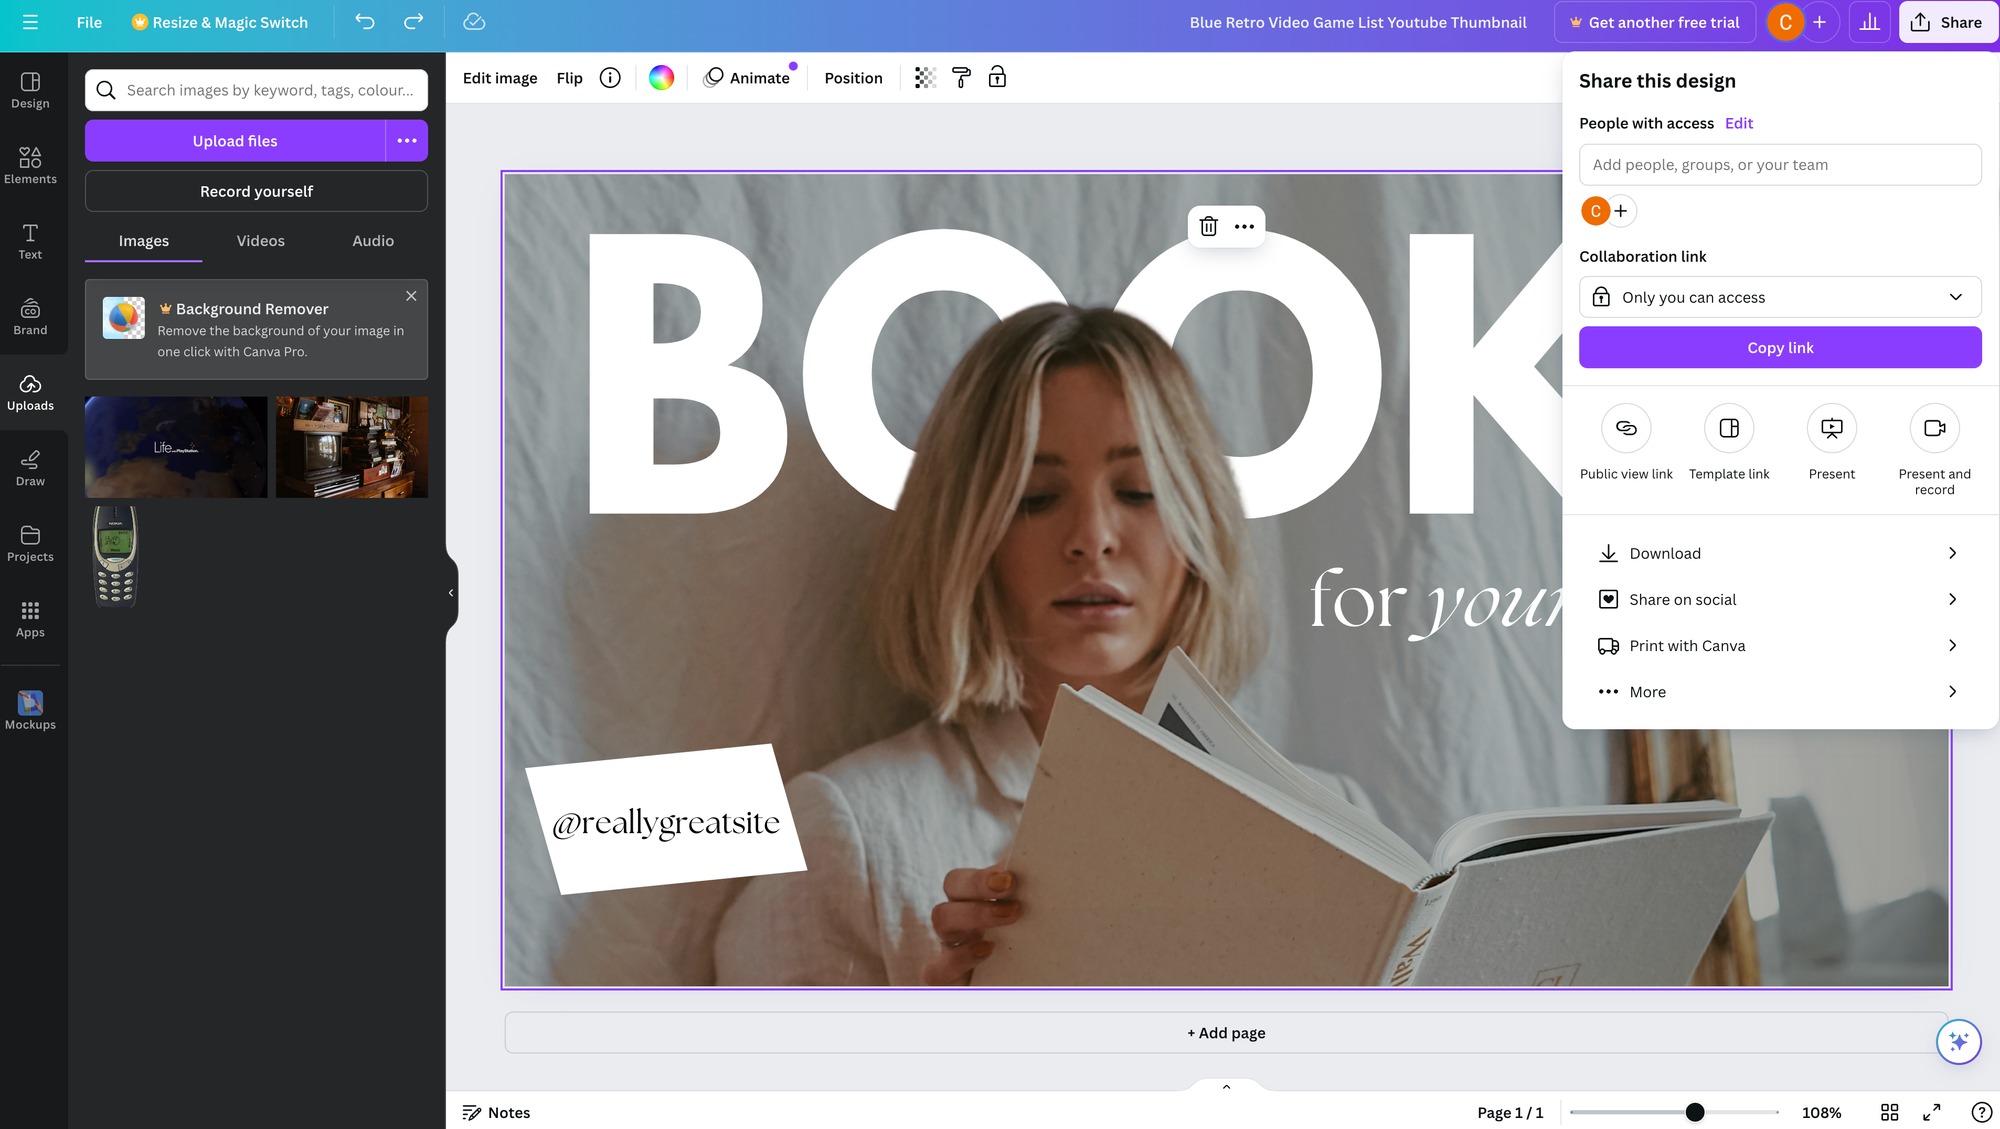
To add a collaborator who can leave feedback as comments on your design, in the top right corner click Share.
Type in their email address, include a message or notes, set their level of access (options include full edit access, can comment, can view (can’t comment or edit), and then click send. Below the Copy link button, find other sharing options like presenting and presenting and recording.
You can download your design, share it on social media, or use Canva Print. Click More for even more sharing options.
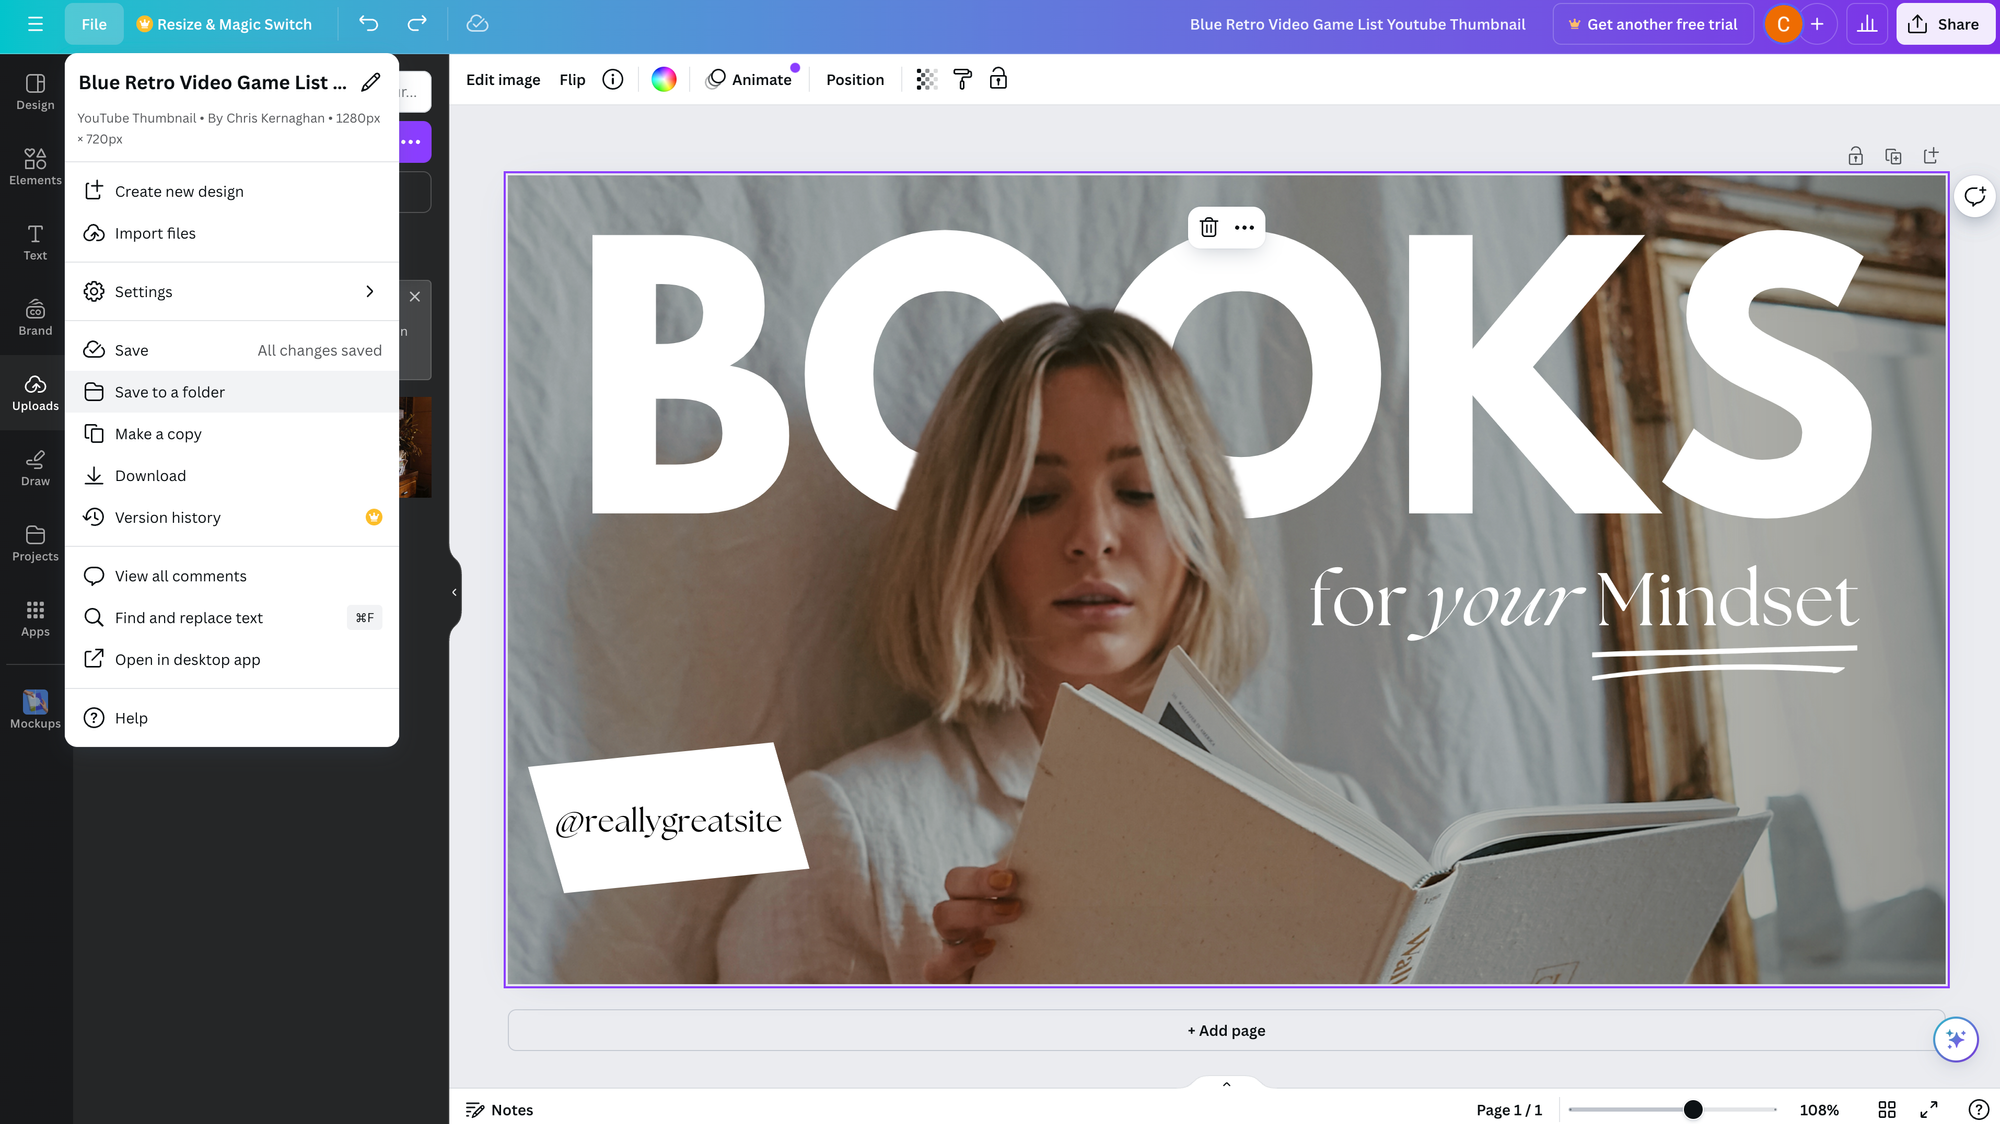
Saving and Organising Documents
Canva autosaves your design as you go. If you want to manually save your design to a specific folder, in the top menu click File, then Save to folder, then choose your desired folder.
You can also create a new folder there too.