
Want to supercharge your Figma skills? Here's a quick rundown of 10 must-know tips:
- Use Auto Layout for responsive designs
- Master Components and Variants for consistency
- Learn keyboard shortcuts to work faster
- Collaborate in real time with your team
- Organise your workspace and files
- Build a design system for scalability
- Create interactive prototypes to test user flows
- Try plugins to extend Figma's capabilities
- Use version history as your safety net
- Keep an eye on performance as projects grow
Related video from YouTube
Quick Comparison: Top Figma Plugins

| Plugin | Function | Downloads |
|---|---|---|
| Autoflow | User flows | 442K |
| Wireframe | Wireframing | 370K+ |
| Content Reel | Content library | 517K |
| Iconify | Icon management | 1.4M |
These tips will help you design faster, work smarter, and create better UX in Figma. Let's dive in and level up your Figma game.
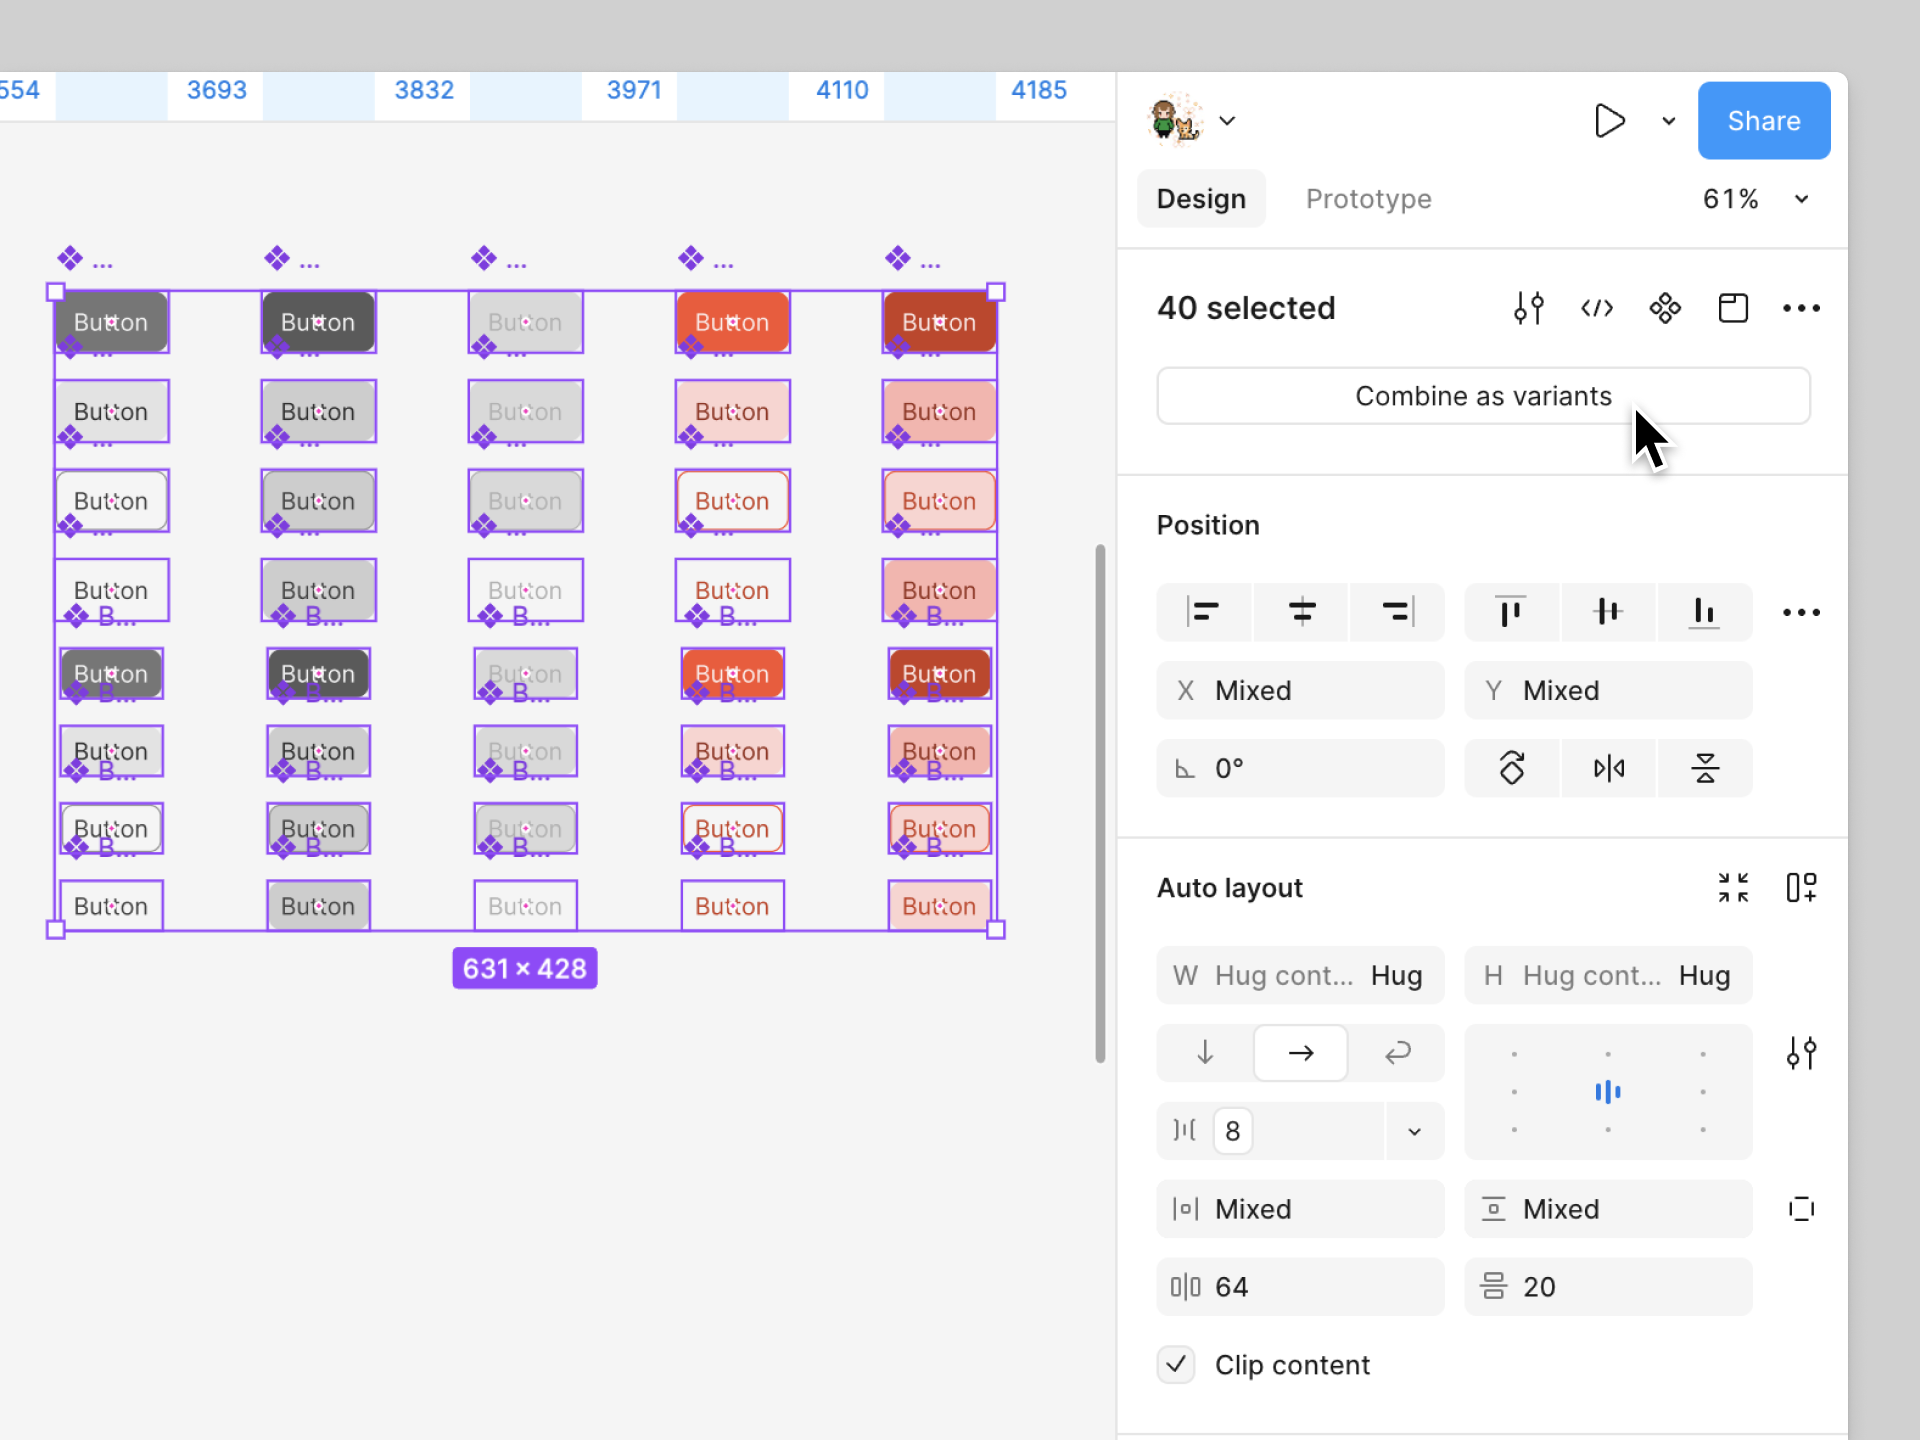
1. Use Auto Layout
Auto Layout in Figma is a UX designer's best friend. It's like having a smart assistant that keeps your designs organised and responsive.
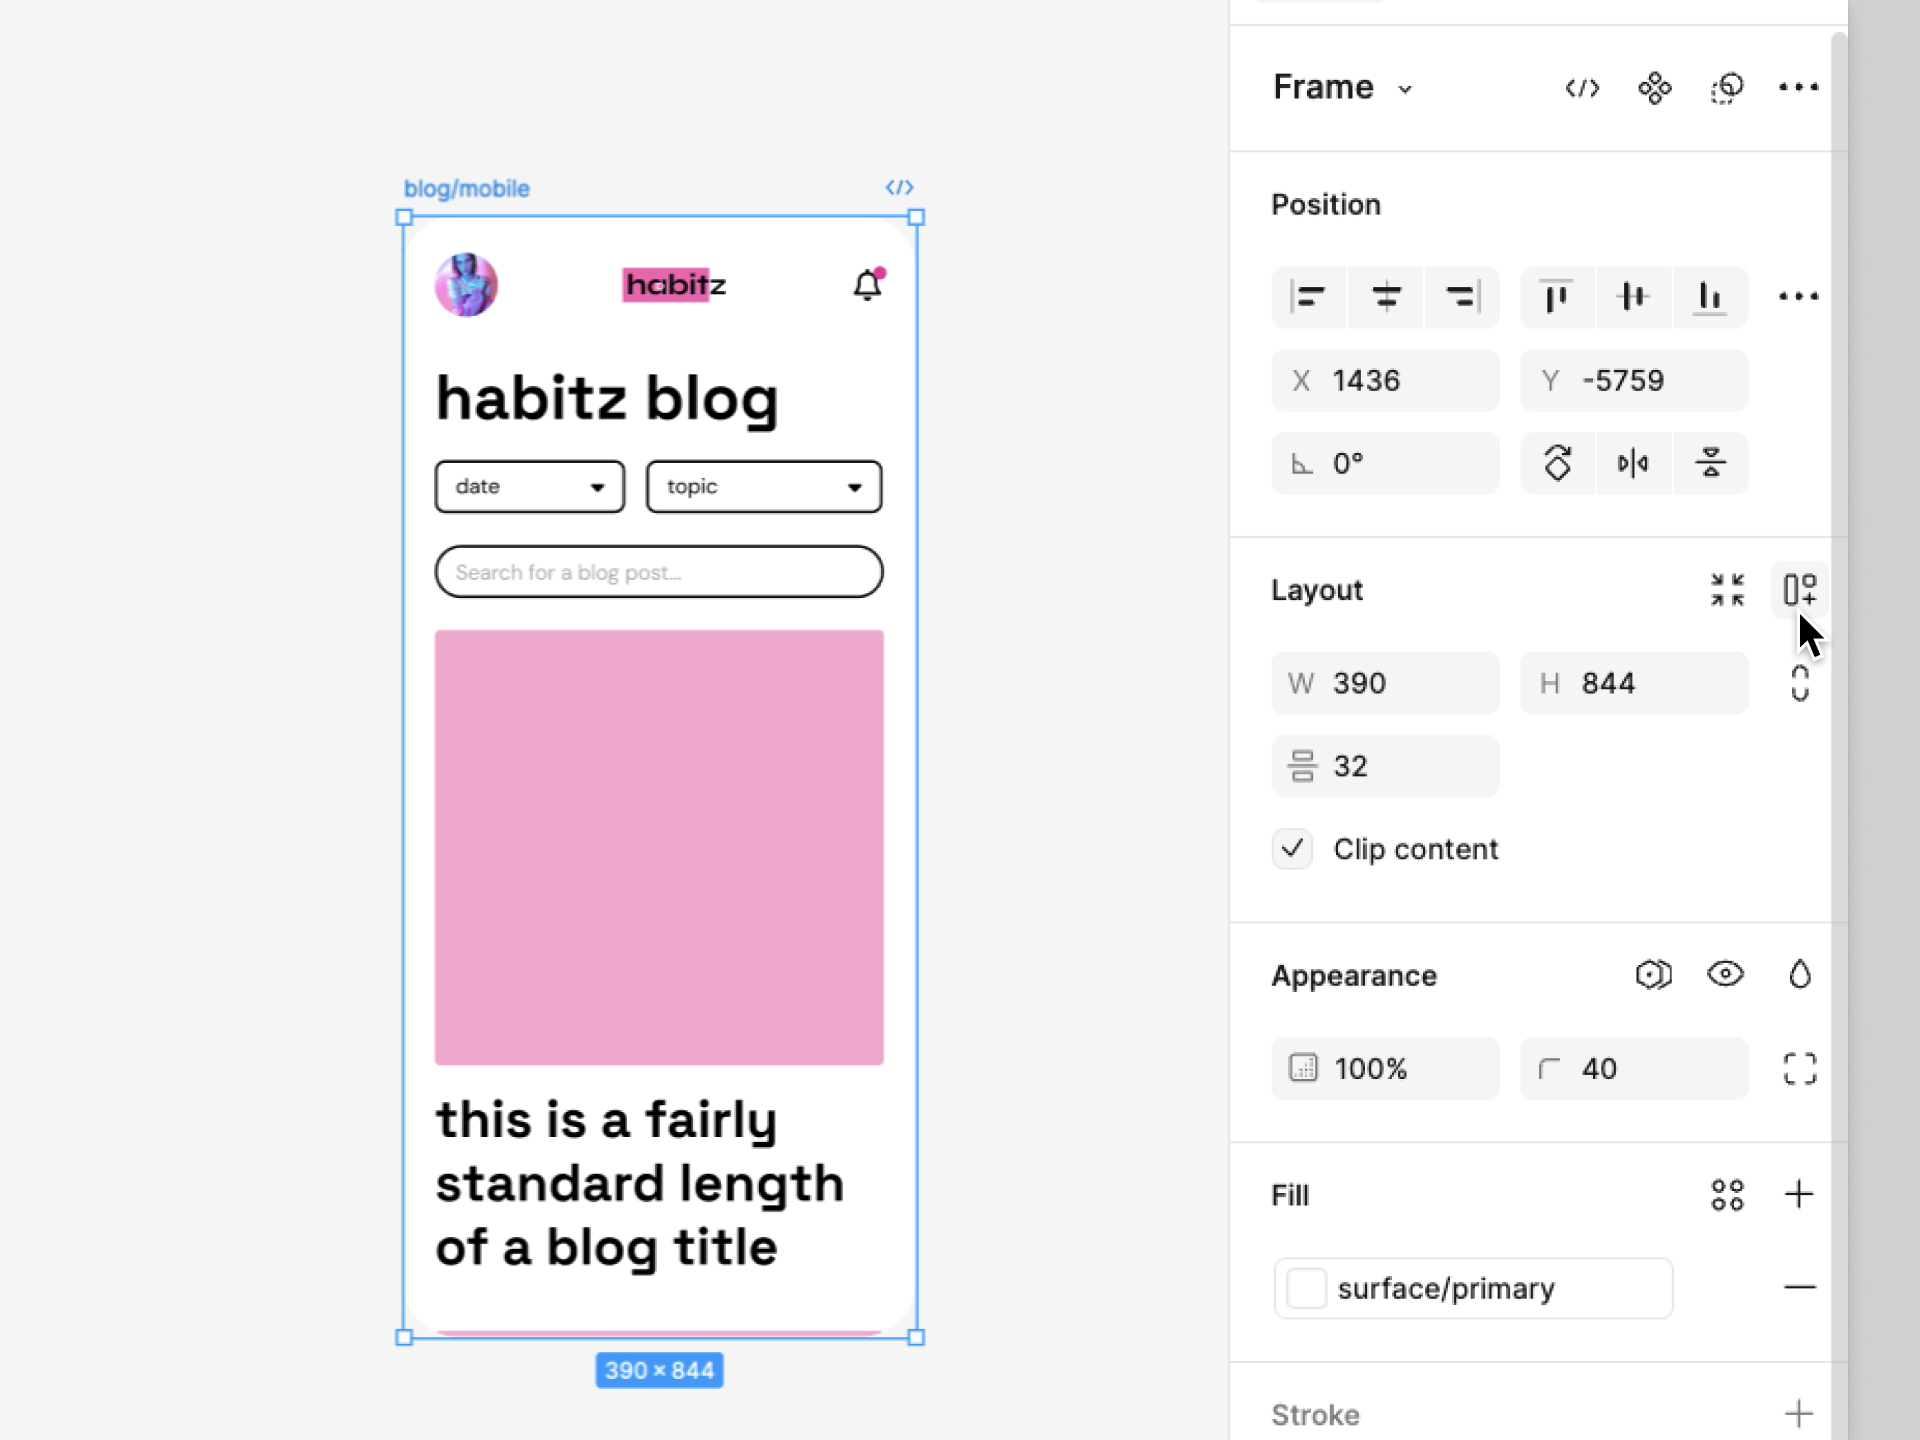
Why use it?
- Saves time: No manual adjustments when content changes
- Keeps things consistent: Elements stay aligned and spaced correctly
- Makes responsive design easier: Components adapt to different screen sizes
Getting started:
- Select elements to group
- Press Shift + A or click '+' next to 'Auto Layout' in the right panel
- Adjust settings in Auto Layout panel
Handy shortcuts:
| Shortcut | Action |
|---|---|
| Shift + A | Add Auto Layout |
| Shift + Alt + A | Convert to regular frame |
| Cmd/Ctrl + Shift + G | Remove Auto Layout |
| Cmd/Ctrl + D | Duplicate items in Auto Layout |
Auto Layout isn't just about aesthetics. It's about working smarter. By automating layout tasks, you free up time for creative design.
If you're familiar with CSS Flexbox or Grid, you'll pick up Auto Layout quickly.
Start small with a simple component like a button. As you get comfortable, tackle more complex layouts. Soon, you'll wonder how you ever designed without it.
2. Work with Components and Variants
Components and variants in Figma are UX design powerhouses. They're your ticket to reusable, consistent design elements that save time and headaches.
Here's how to use them:
1. Create smart components
Turn your go-to design elements into components. Select, right-click, "Create Component" (or ⌥⌘K). Boom! You've got a master component to use across your designs.
2. Leverage variants
Variants group related components. Think button states:
| State | What it looks like |
|---|---|
| Default | Normal |
| Hover | Cursor's over it |
| Pressed | It's clicked |
| Disabled | Not clickable |
To make variants:
- Select components
- Hit "Create Component Set"
- Add properties in the Variants sidebar
3. Name clearly
"Button/Primary/Large" beats "Component 1". Clear names help everyone find the right components fast.
4. Design flexibly
Use constraints and auto-layout. Your components will adapt to content changes and screen sizes like champs.
5. Document it
Add descriptions to your components. It's like leaving a note for your future self (and your team).
6. Organise your library
Group-related components. Use consistent naming for variant properties. Keep it tidy, keep it usable.
Master components and variants, and you'll design faster and more consistently. Start small with buttons or icons, then level up to complex components as you go.
"Components and variants in Figma are like LEGO for your design system. Build a flexible foundation that grows with your project", says Figma's product team.
3. Learn Keyboard Shortcuts
Keyboard shortcuts in Figma can supercharge your design process. They're your secret weapon for spending less time clicking and more time creating.
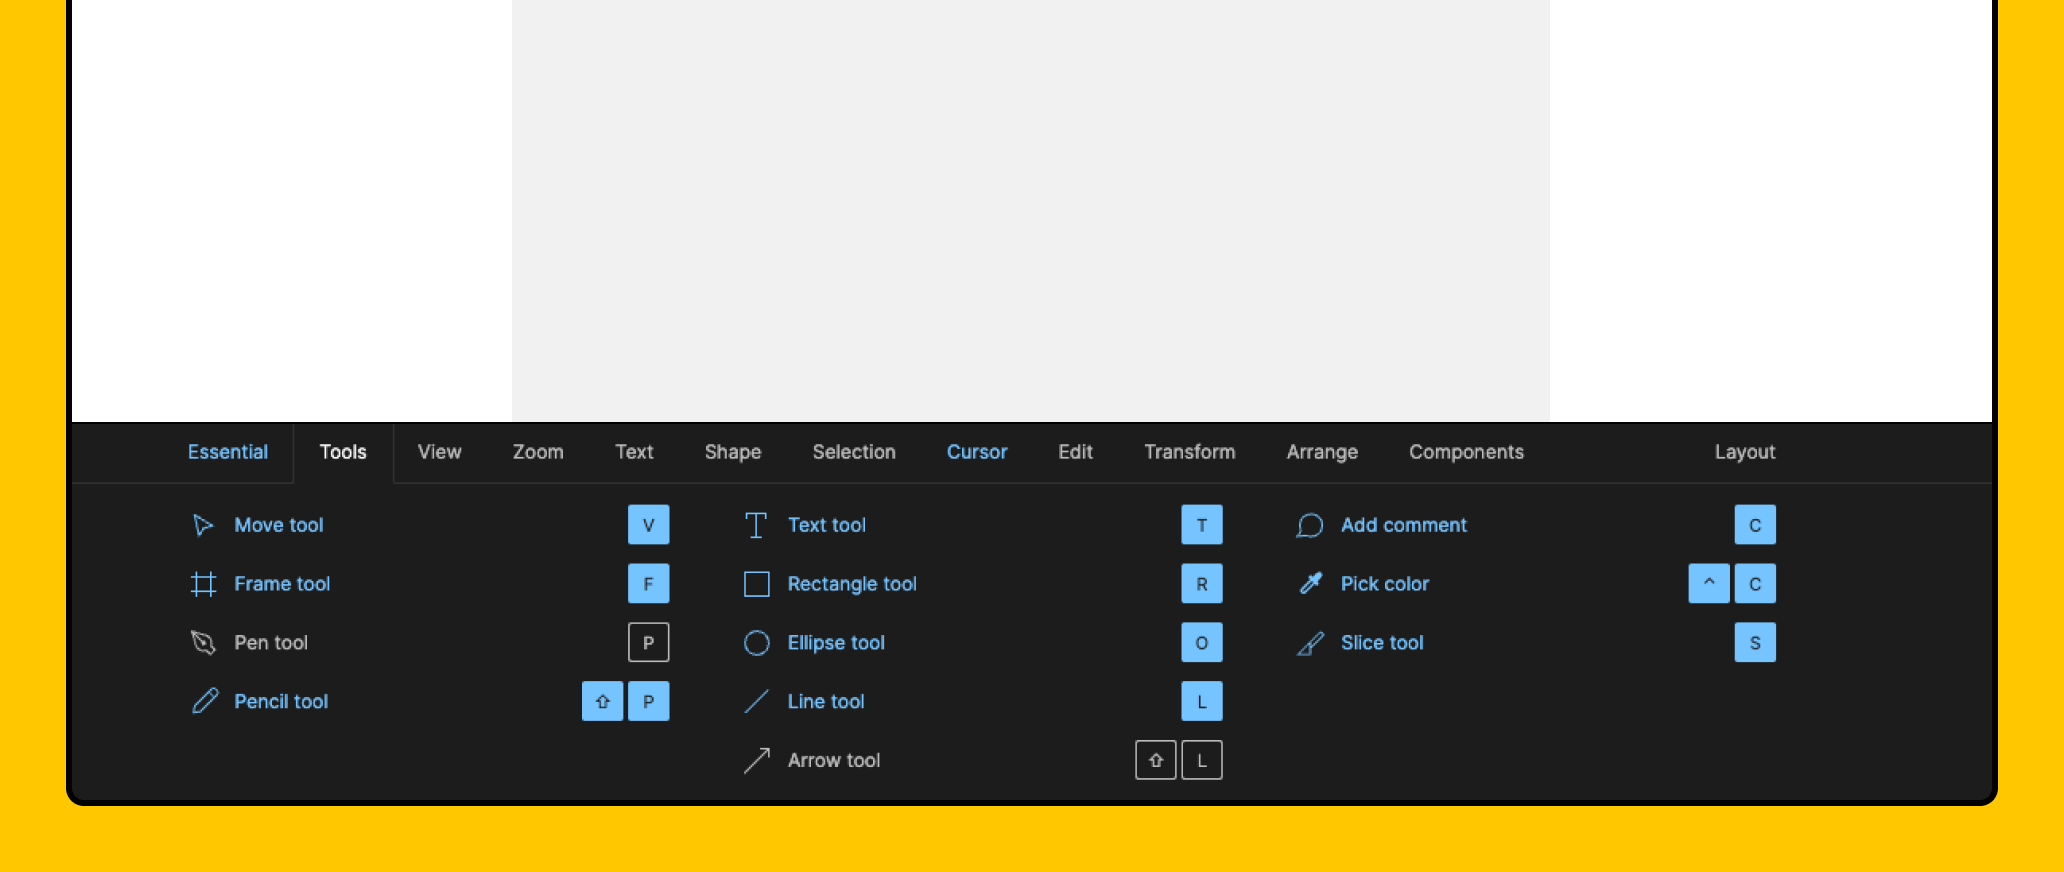
Here's a quick hit list of must-know Figma shortcuts:
| Action | Windows | Mac |
|---|---|---|
| Duplicate | Ctrl + D | Cmd + D |
| Frame Tool | F | F |
| Toggle UI | Ctrl + \ | Cmd + \ |
| Scale Tool | K | K |
| Quick Actions | Ctrl + / | Cmd + / |
Want to save hours? Master these shortcuts. For instance, "Ctrl/Cmd + D" to duplicate objects is WAY faster than right-clicking and menu-diving.
Start small. Pick 1-3 shortcuts and stick them on a Post-it near your screen. Before you know it, you'll be flying through designs.
Don't believe me? Here's what Sarah Chen, a UX Designer at Dropbox, says:
"After mastering Figma shortcuts, I cut my design time by 30%. What used to take me a full day now only takes 5-6 hours."
Ready to speed up your workflow? Give these shortcuts a shot. Your future self will thank you.
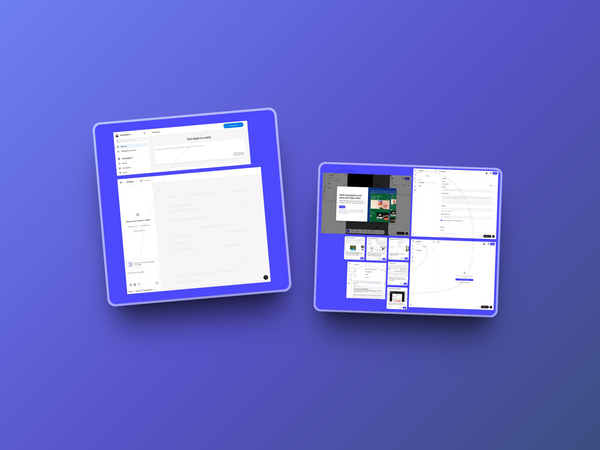
4. Work Together Smoothly
Figma shines when it comes to teamwork.
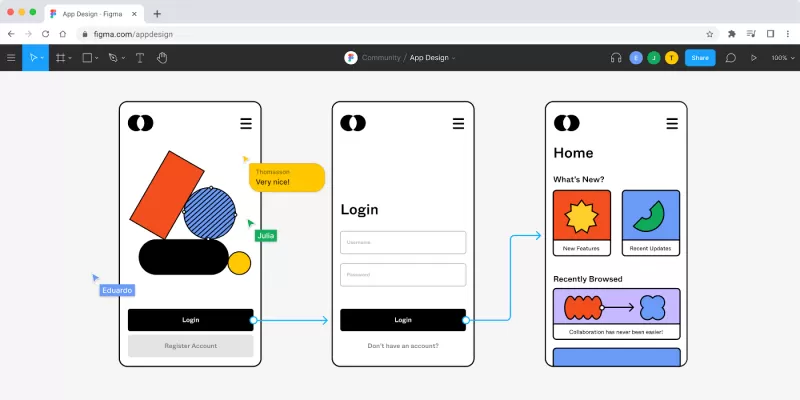
Here's how to make the most of it:
Real-time editing: Multiple people can work on the same file at once. No more version control headaches.
Cursor chat: Got a quick question? Use cursor chat. It's faster than switching apps.
Comments: Leave feedback right on the design. Keeps things focused.
Voice chat: Built-in audio for those deeper discussions.
Clear roles: Know who's doing what before you start. Saves confusion later.
Shared libraries: Build a design system. Keep everything consistent.
Smart plugin use: Choose plugins carefully. Too many can slow you down.
Here's a quick look at Figma's collaboration tools:
| Feature | When to Use It |
|---|---|
| Cursor Chat | Quick questions |
| Comments | Detailed feedback |
| Live Audio | In-depth talks |
| Shared Libraries | Keeping designs consistent |
| Version History | Tracking changes |
But remember: tools are just part of it. Communication is key. As Jake Albaugh from Figma says:
"We don't need a unified language in all contexts; we just need enough context to get everyone on the same page."
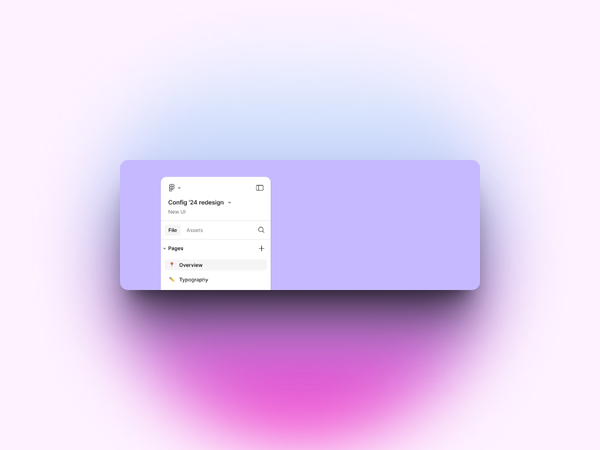
5. Set Up Your Workspace
A tidy Figma workspace helps you focus and work faster.
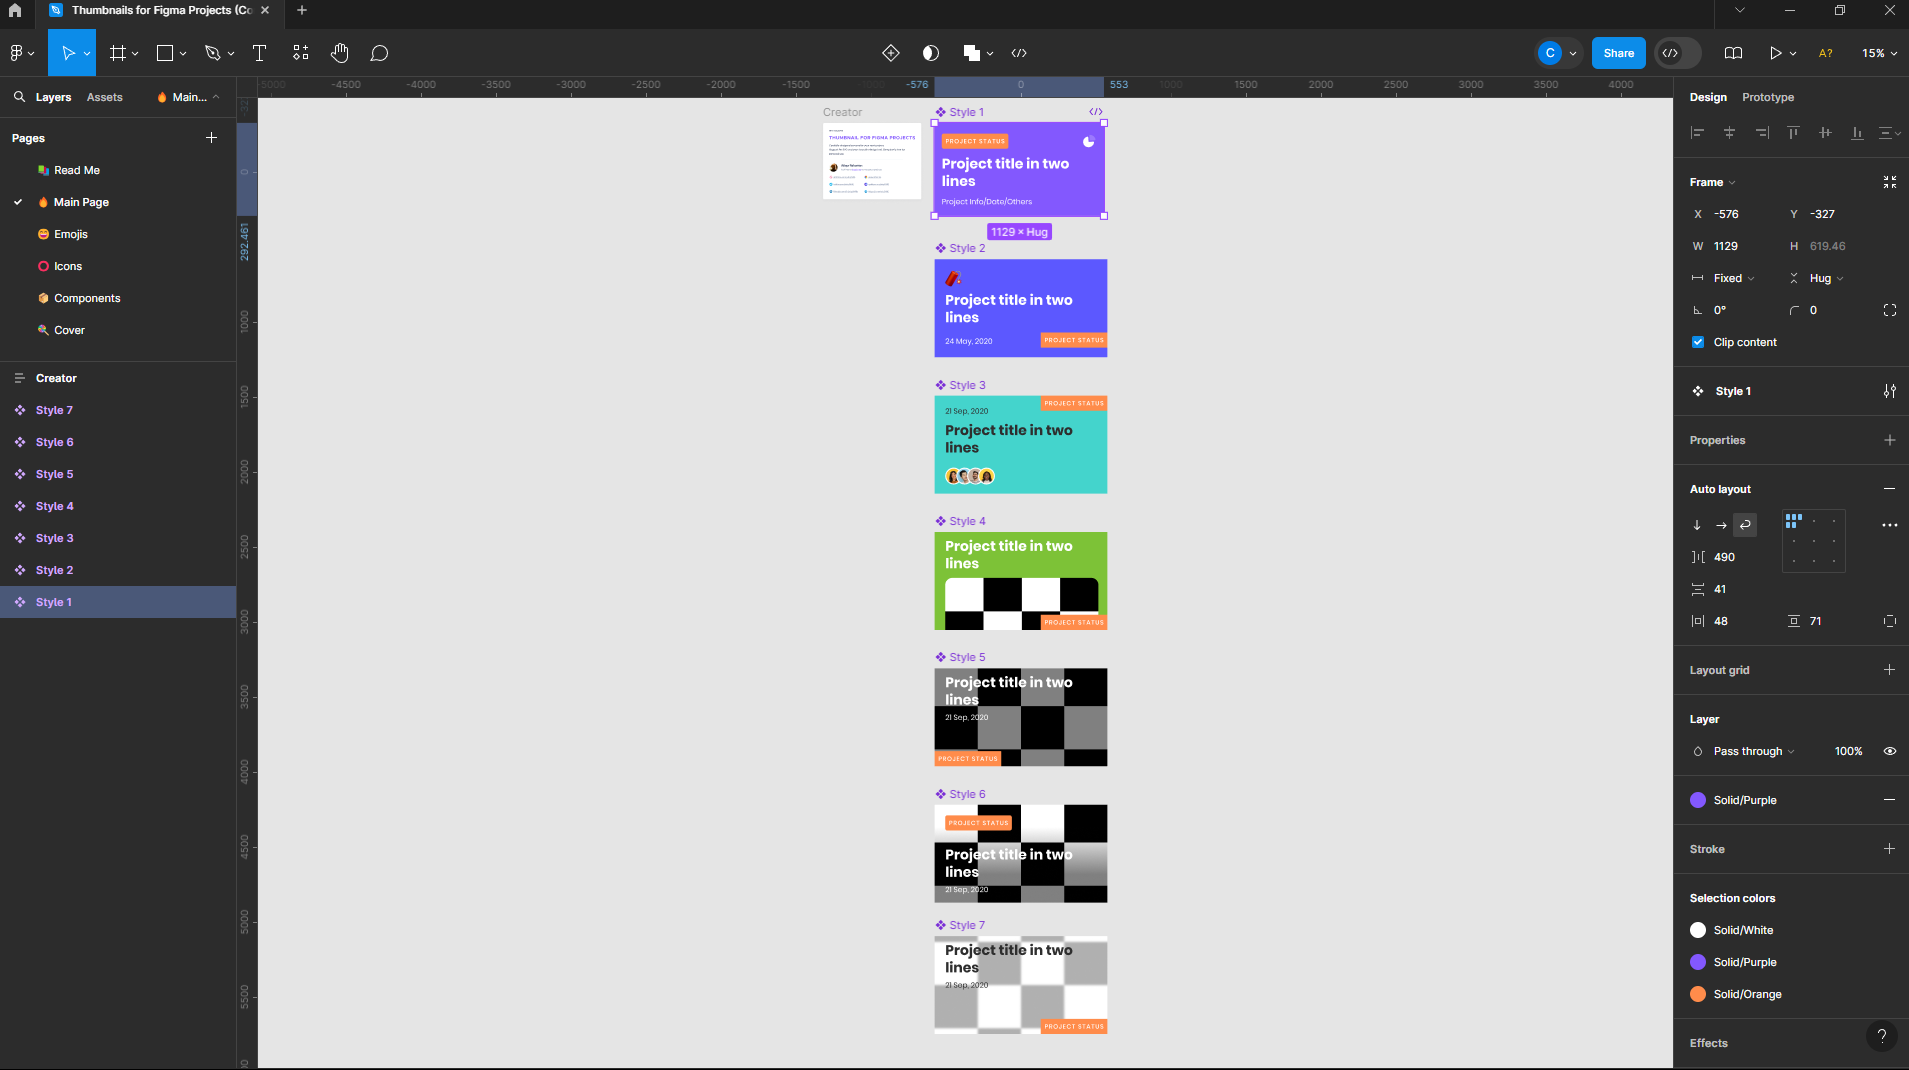
Here's how to do it:
Organise layers and frames:
- Name layers clearly (like "Header" or "Footer")
- Group related stuff (Ctrl + G)
- Use colours to mark different sections
Create a smart file structure:
- Sort projects into folders
- Name files consistently
- Pin important files for easy access
Make your file cover useful:
- Add project name and status
- Show a preview of key designs
- List who's working on it
Set up your pages:
- Use pages for different things (like "Wireframes" or "Final Designs")
- Have a "Playground" for testing ideas
- Keep old versions in an "Archive" page
Customise your toolbar:
- Put your most-used tools where you can grab them fast
- Add shortcuts for stuff you do a lot
Here's a quick guide to organising in Figma:
| Area | Tips |
|---|---|
| Layers | Clear names, group related items |
| Files | Consistent names, logical folders |
| Pages | Separate by purpose (drafts, final) |
| Toolbar | Quick access to frequent tools |
NB., UI3 has changed the layout of Figma, though the fundamentals are much the same as what we've touched on above.
UI3 offers:
- Offers more control with resizable and collapsible panels
- Highlights your work on the canvas
- Improves feature intuitiveness through better placement and grouping
- Adds consistency across products, simplifying switching between Figma Design, FigJam, Dev Mode, and Figma Slides
6. Create Design Systems
Design systems are a must for UX designers using Figma. They help teams create consistent designs and work faster.

Here's how to build one:
1. Set clear goals
Know what problems your design system will fix. This helps you focus and get others on board.
2. Take stock
Look at your colours, fonts, icons, and components. You'll spot what needs fixing.
3. Use Figma's tools
- Components: Make reusable UI bits
- Styles: Set up text and colour rules
- Shared libraries: Share stuff across files and teams
4. Build small, then big
Start with tiny, reusable parts. Combine them into bigger pieces.
| Level | What It Includes |
|---|---|
| Atoms | Buttons, inputs, icons |
| Molecules | Search bars, card headers |
| Organisms | Nav menus, forms |
5. Name things right
Use a clear naming system. It makes everything easier to find.
6. Write it down
Explain how stuff should look and work. Use Figma comments or make special pages for this.
7. Get everyone involved
Talk to designers, developers, and others. Make sure it works for everyone.
8. Start small, grow big
Begin with core components. Add more as you go. It's easier to manage this way.
Keep updating your design system as your product changes. It's never really "done."
"Good design systems teach team members, speed up work, and let designers tackle tough UX problems." - Therese Fessenden, Nielsen Norman Group
7. Make Interactive Prototypes
Figma's prototyping tools let you bring designs to life.
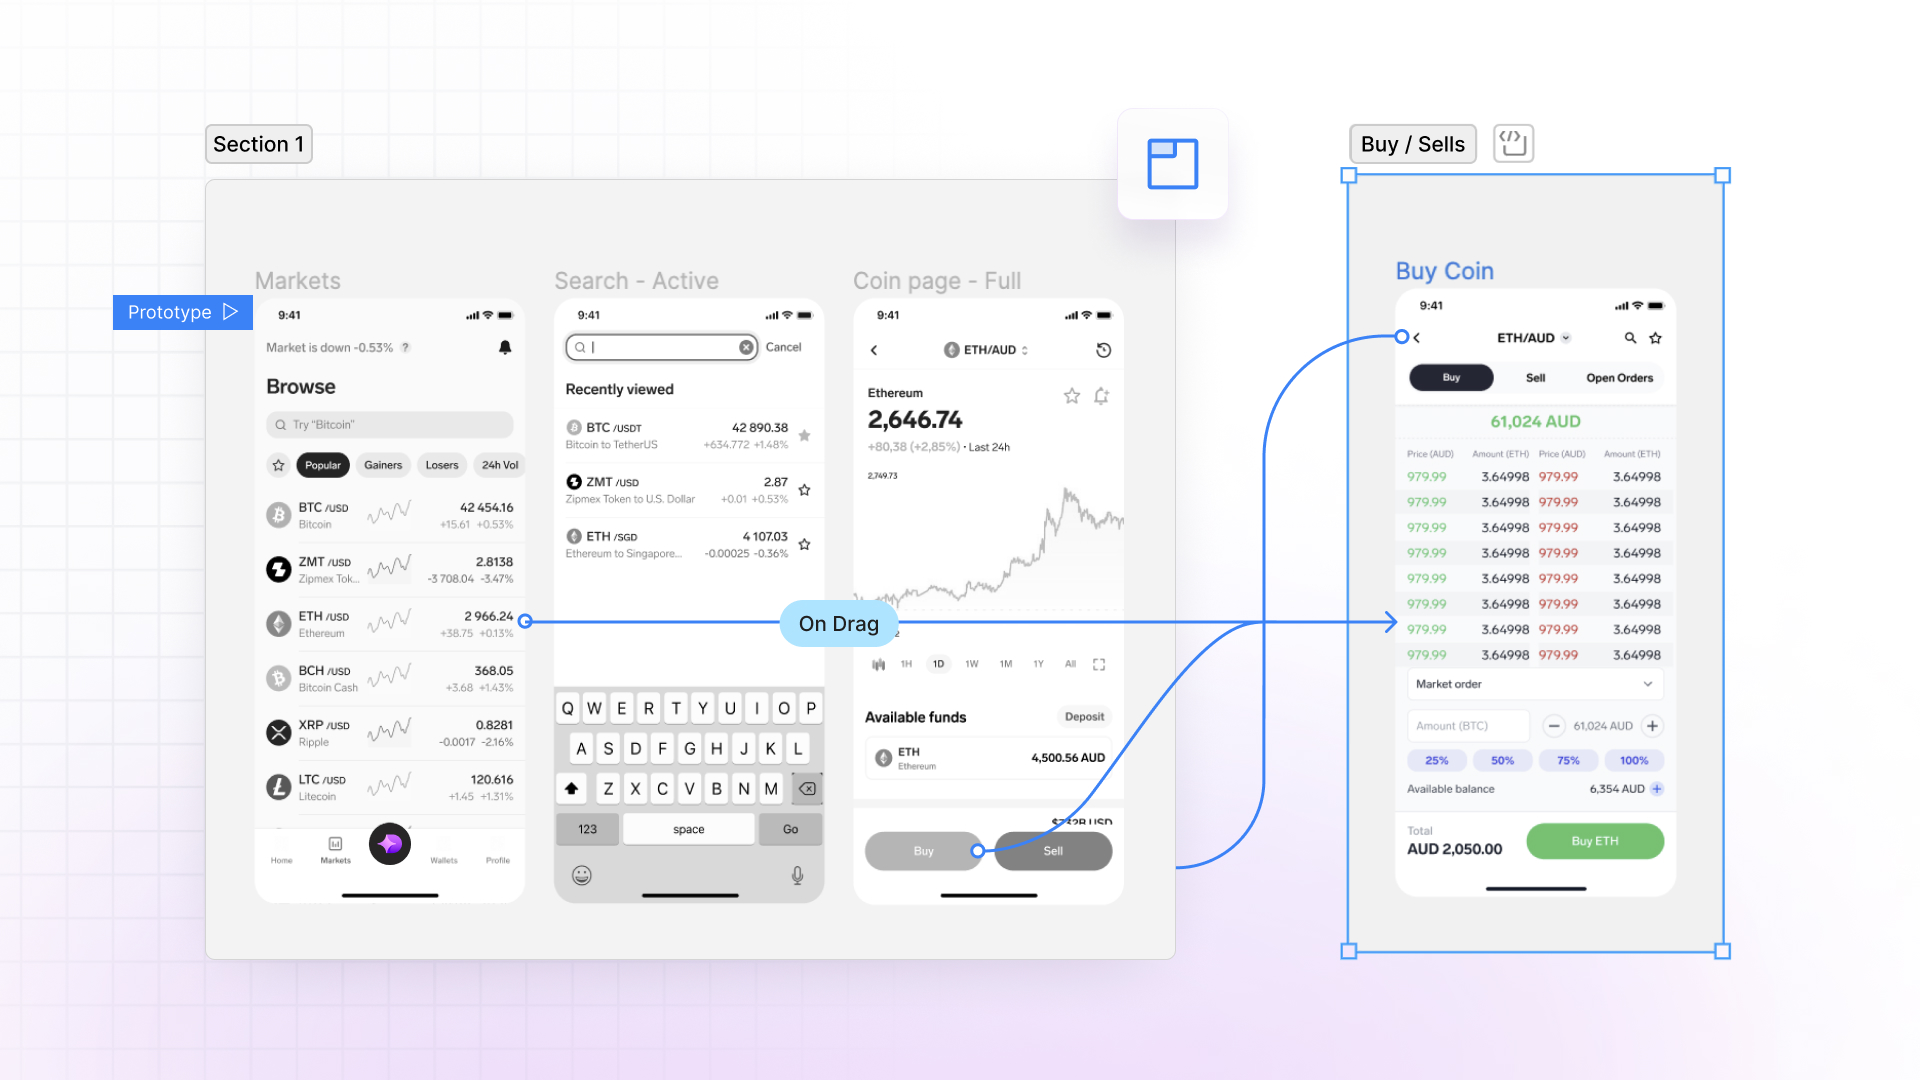
Here's how to create prototypes that impress clients and test user flows:
1. Set up frames
Organise your design frames. Group-related screens for easier connections.
2. Create connections
In the Prototype tab:
- Select an object (like a button)
- Click the + icon
- Drag to the destination frame
Pro tip: Link multiple objects to the same frame by selecting them all first.
3. Choose interactions
Pick how users move between frames:
| Interaction | Use Case |
|---|---|
| On Click | Buttons, menu items |
| On Hover | Tooltips, dropdowns |
| After Delay | Splash screens, animations |
4. Add animations
Make transitions smooth:
- Select a connection
- Pick a transition type (e.g., Push, Slide)
- Adjust duration and easing
Try "Smart Animate" to auto-create transitions between similar objects.
5. Test and refine
Click "Present" to preview. Share with your team for feedback.
"These tips aren't just guidelines; they're secret ingredients to elevate your prototyping craft." - Ana Boyer, Designer Advocate at Figma
6. Use interactive components
Create reusable elements with built-in states and interactions:
- Design your component (e.g., a toggle switch)
- Add variants for different states (on/off)
- Set up interactions between variants
This keeps your prototypes consistent and saves time.
7. Organise flows
For complex apps, use Figma's flow feature:
- Name each flow (e.g., "Sign Up", "Checkout")
- Set starting points for each flow
This helps during user testing and client presentations.
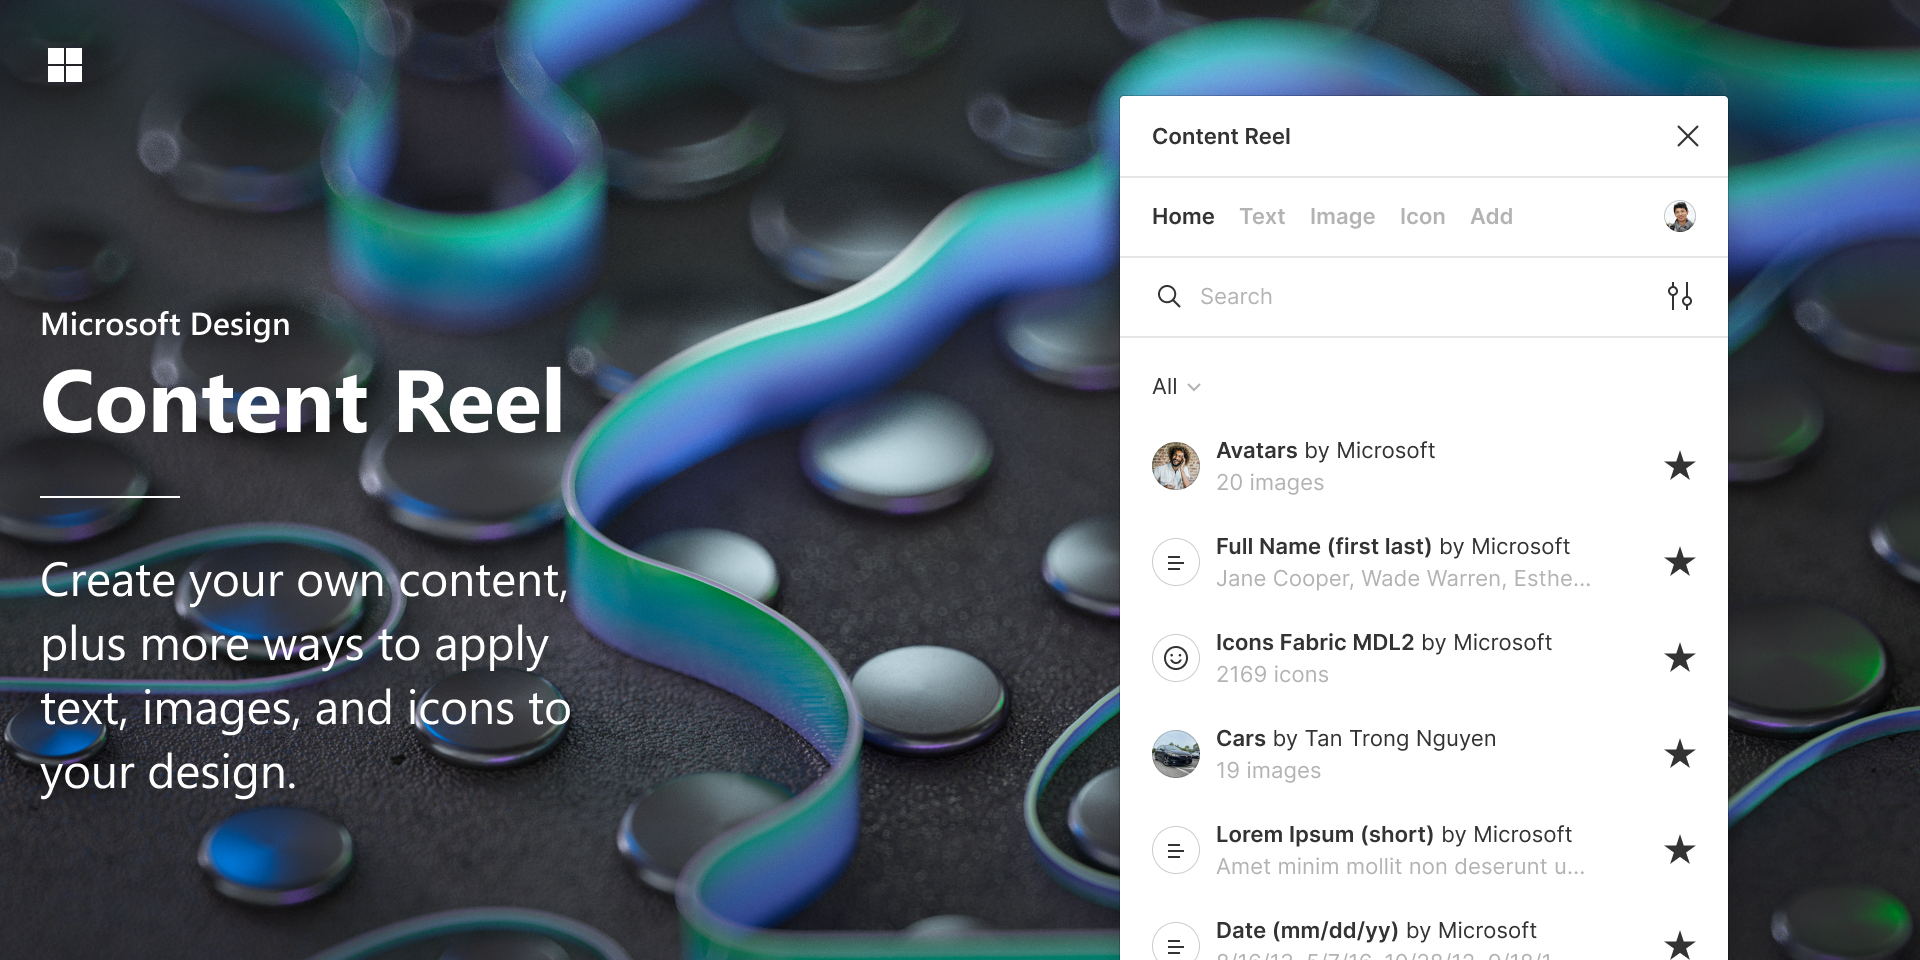
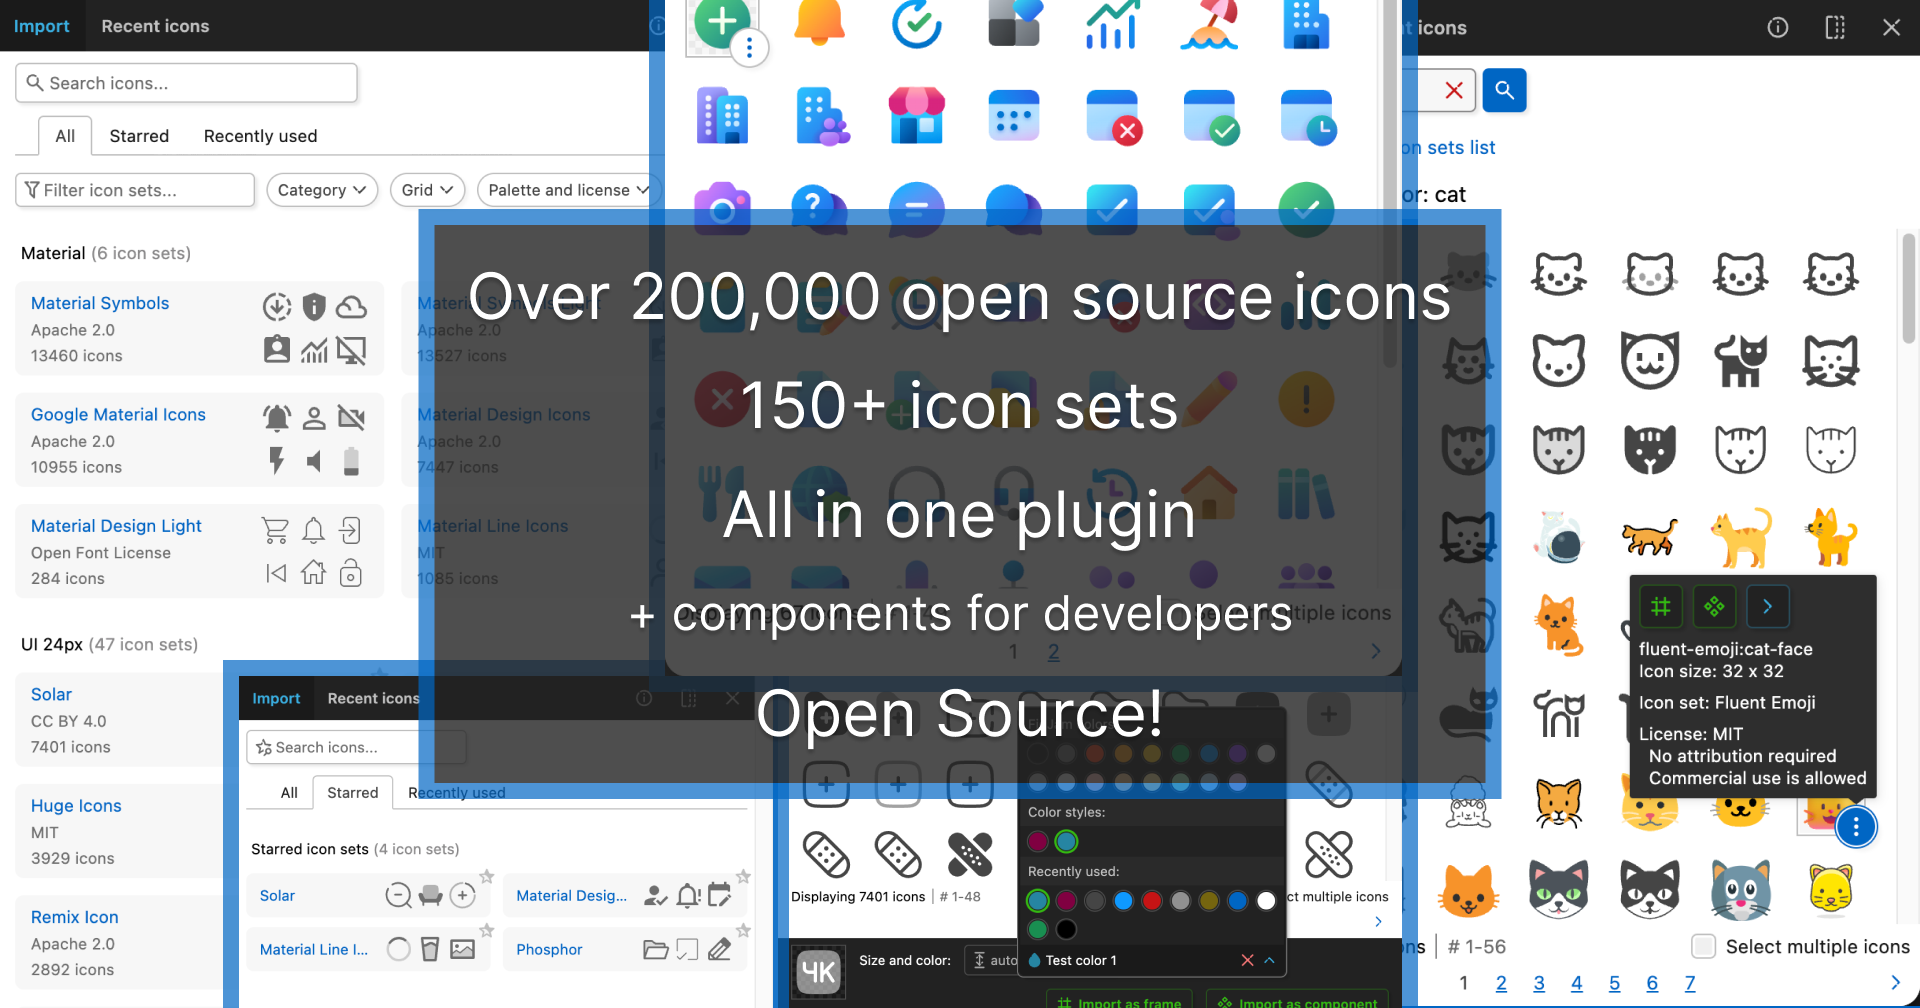
8. Choose Helpful Plugins
Figma plugins can supercharge your design workflow. Here are some top picks:
Autoflow: Draws user flows fast. 442K downloads.

Wireframe: 350+ graphics for web/mobile wireframing. 370K+ downloads.
Content Reel: Text, image, and icon library. 517K downloads.
Iconify: Icon management. 1.4M downloads.
| Plugin | Function | Downloads |
|---|---|---|
| Autoflow | User flows | 442K |
| Wireframe | Wireframing | 370K+ |
| Content Reel | Content library | 517K |
| Iconify | Icon management | 1.4M |
To install: Open Figma > "Community" tab > Search > "Install"
"Figma plugins aren't just add-ons; they're power-ups for your design process." - Cory Etzkorn, Creator of Faker plugin
Test plugins before big projects. Some offer free trials before a one-time fee.
9. Use Version History
Figma's Version History is a UX designer's best friend. It tracks changes, lets you go back in time, and keeps your project on track.
Here's how to use it:
- Find it: Click the file name, then 'Show Version History'.
- Name versions well: Give each milestone a clear name.
- Add notes: Explain what changed and why.
- Go back if needed: Made a mistake? Just restore an old version.
- Try new ideas safely: Use branching for big changes.
- Keep a log: Track major updates on a dedicated page.
- Work together: See who changed what and when.
- Share smart: Create a new version before handing off to developers.
"Version history lets designers work confidently. Every decision can be traced and undone."
Note: Free plans keep history for 30 days. Need more? Consider upgrading.
| Version | What Changed |
|---|---|
| 1.0.0 | First design system release |
| 1.1.0 | New button styles added |
| 1.1.1 | Fixed nav bar icons |
Using Version History well keeps your design process smooth and your team in sync.
10. Keep Figma Running Smoothly
As your Figma projects grow, you need to keep an eye on performance. Here's how to keep Figma running like a well-oiled machine:
1. Watch your memory
Figma shows memory usage as a percentage. Check it out in the Main menu > View > Memory usage. Keep tabs on this, especially for big projects.
2. Use boolean component properties
This cuts down on layers, which helps with memory.
3. Split up big libraries
If your library file's getting too big, break it into smaller, easier-to-manage pieces.
4. Shrink those images
Use the Downsize plugin to compress large images. Your memory will thank you.
5. Let Figma load as needed
Figma now loads content on demand. This has sped up the slowest 5% of page loads by a third.
6. Stick to whole pixels
This stops those annoying thin white edges on exported images.
7. Clip your content
When exporting, clip content to know exactly what size you're getting.
8. Double up for high-res
For modern high-density displays, try exporting at double size.
9. Test in the cloud
Figma uses GPU-enabled virtual machines to test performance for every code change.
10. Run custom tests
Use Figma's hardware setup to test on older machines. It helps compare day-to-day performance on real-world devices.
Conclusion
Figma is a powerhouse for UX designers. Let's recap how to supercharge your skills:
- Master Auto Layout for responsive designs
- Use Components and Variants for consistency
- Learn keyboard shortcuts to speed up your work
- Collaborate in real time with your team
- Organize your workspace and files
- Build a design system for scalability
- Prototype to test user flows early
- Try plugins to extend Figma's capabilities
- Use version history as your safety net
- Keep an eye on performance as projects grow